Hey Keith - Just wanted to throw my +1 behind this idea. From a fiction writer’s point of view, I’d love to be able to highlight portions of story text, say a passage that explains some of a character’s past history, tag it as “John’s Bio,” and then have that text (and other’s so tagged) show up in that character’s bio, down in the character container.
The beauty of this is that as bio information changes in the main story, the character bio will automatically update with the revised information.
Of course, still being able to add bio info in and around the gathered/tagged story text would be crucial.
I could see the same functionality helping with other container-based subjects like Places and Research, and my added containers of Plot and Themes…
Have you tried using the Append Selection to Document contextual menu item? It’s not dynamic, but it does what you want. You can make your character sheet template have an “Instances:” header at the bottom of it, and so anything you append will be added in this section. Note in the General preference pane, an option for how appended selections should be handled. You can for instance have it insert a divider character.
Still looking for software that will do this for me, other than the Nvivo and qualitative software. When I wrote my first novel, I wanted to track various themes, character arcs, etc. The only way I could accomplish it is by adding keywords as comments text. I’d usually prefix them with the # to make them easy to find. But very cumbersome.
In a perfect world, you’d be able to tag a set of characters, then move quickly from one tagged set to another, AND have the capability to view all tagged text in a single document free of the clutter and context, with the ability to click through to see it in context.
Still waiting, but I suspect I’m one of less than a dozen folks with such an interest.
You can do this in Scrivener, either with comments (better suited for single words), which will show up in the Inspector and allow you to move quickly between them. Or on a sentence / paragraph level in combination with keywords (tags) and Collections (saved searches) which allows you to read through a “filtered” version of your manuscript, say all scenes involving characters A and B together, a specific location or time period, and only those in isolation.
If you don’t want to split your documents in smaller chunks (as per what @November_Sierra explained – 2nd point), that’s as close as it gets at the moment.
I personally find it very efficient. I don’t have any issues skipping the tags when reading. It just requires some getting used to.
I can easily follow threads, jump from anywhere to anywhere within my project, cycle through all the major and/or minor points that require to be fixed.
Research this, and that, and that.
Confirm this and that as properly written.
Anything, really.
I’m not sure QT (the coding language Scrivener is based upon) would even allow it to be developed. But that would be a question for someone other than me.
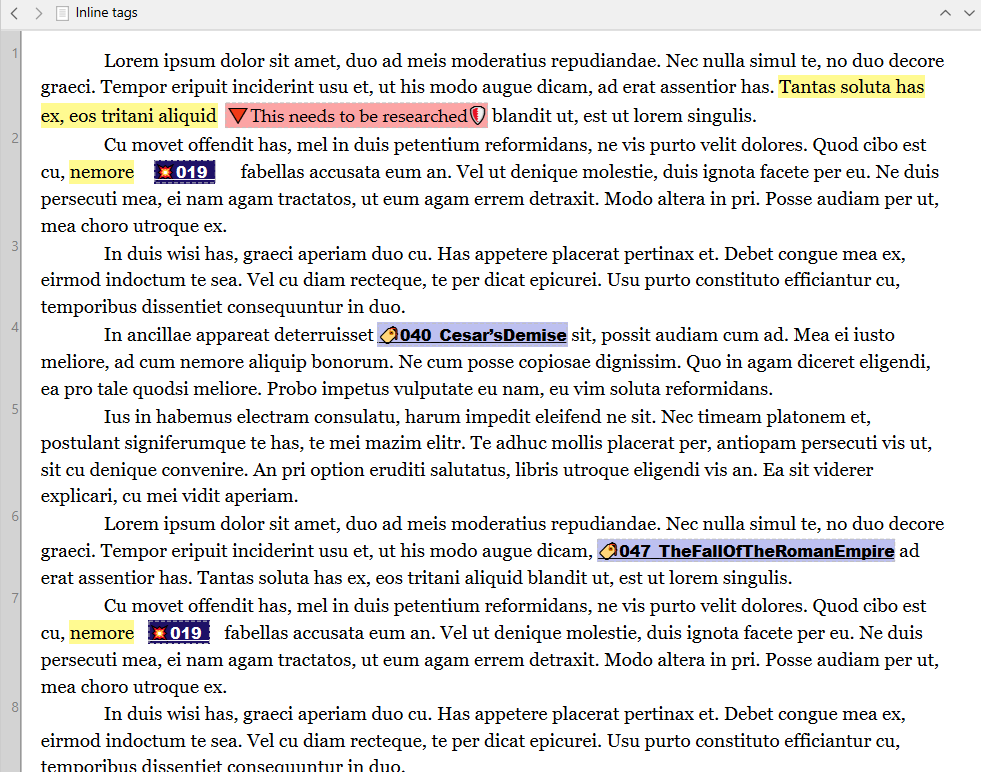
Well, you could use a combination of Inline Annotation (which, in my opinion, is pretty tidy compared to icons and the like all over the place in your WIP), the Append Selection to Document feature, Project Search and Project Bookmarks. Here’s how:
Create a capture document, called Tags.
Say you’re going to create an annotation called Touch-up 1.
Type: Touch-up 1. in your manuscript. (Don’t make it an Inline Annotation yet.)
Highlight: Touch-up 1., right click and select Append Selection to Document and select the Tags document. It adds the selection to the Tags document.
With Touch-up 1. still highlighted in your Editor, click on the Inline Annotation icon now and it changes to the set format. (You only do it now because Project Search won’t search for [Touch-up 1.] as it has the Inline Annotation square brackets formatting around it when you paste the search criteria into Project Search.
Also, even if one word in copied and pasted from Inline Annotation, it brings along the Inline Annotation formatting, i.e. the square brackets. It then becomes a schlep to delete the brackets before searching.
Drag the Tags document to Project Bookmarks, making the content available in the Bookmarks preview pane in Inspector | Bookmarks for you to copy and paste into Project Search when you click on an item. If need be, you can set your Bookmarks to open in a QR Panel, especially if you have multiple items that tend to be hard to spot in a preview pane. (My editor is scaled to 180%, while my preview pane is 100%, so you’ll get the drift of where I’m coming from with this.)
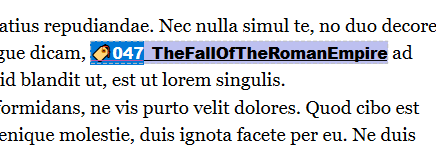
Search will invoke the Binder to list only the documents with the search results, be it one or many, and take you to the first find per document.
Furthermore, on the topic of multiple items in your Tags document, you can also sort the items appended to the Tags document, while not from the preview pane, certainly by opening the Tags document and using Edit → Sort.
This is also how you create a Glossary, without using the Inline Annotation or Project Search components.
Alternatively, you can use the Wikilinks functionality.
[[Touch-up 1]] creates a new document with that title, with a pop-up window allowing you to specify the location. Then it links to that new document. The new document will also have a back link as a Document Bookmark.
Same for glossaries. If you don’t get the document creation pop-up, the term already has a glossary entry.
You’ll want to enable link detection in the Settings → Corrections pane, and automatic backlinks in the Settings → Behaviors → Document Links pane.