Labels do not work

I just started using Scrivener and selected the Fiction Novel template. I write in bits and pieces so as I finish a scene, I need a way to mark it done. I was trying to use the Labels menu to change the color of the icons in the binder, as I saw someone do this on line and it was a perfect solution. But when I tried to apply the colors, it didn’t work. I clicked the icon in the binder, right clicked, went to label, chose a color, but nothing happened. I tried every color, still nothing. I clicked on the other sections (chapter, scene, etc) but each time I tried to apply a label color, it didn’t work. I tried searching the manual and the tutorial, but neither of those address this issue. Why have label colors if they don’t even work??

Hi llui20
Welcome to the forum. :slight_smile:

image

That is my current setup. For the icons, check the second option. It is pretty self-explanatory. :wink:

Simply because it is user defined. There is plenty of reasons one could come up with for wanting the label, yet not the color…
In other words, labels are much more than just a color tag.

In case you didn’t know, you can also use icons as markers.

Right click the binder element:
image

And when all you want to do is to show a scene is done, an icon with a empty tickbox and an icon with a ticked tickbox are available in the standard collection of icons.

Then you can use your Labels for something more useful, like the PoV character in a scene.

If you want to track the progress of your project, States are more appropriate than Labels. And if you want to see colors for your States, swapping Labels and States is an option, as well.

3 Likes

For clarity:
This is something that has to be done manually, by the user.
You rename your labels list “Status”, your status list “Labels”, and then customize their content accordingly.
It is not a built in option that would automatically make the status list’s items have colors associated with them.

. . . . . . . . . . .

That is actually how myself I use labels to track progress.
I know exactly where I’m at with a project from just a quick peek at the binder.
For example, here’s how files of a first draft look:
image

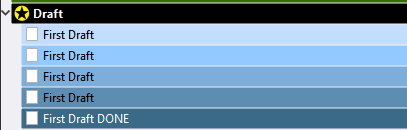
With each revision I up the label by one, making it darker. While at the same time I also assign labels subjectively (not strictly sticking to a +1 rule), according to my appreciation of a file’s state.
The darker the label, the more the file is advanced in its development.
That allows me to work a project without overdoing sections, while neglecting others. Sort of. It tells me where to focus.

In practice:

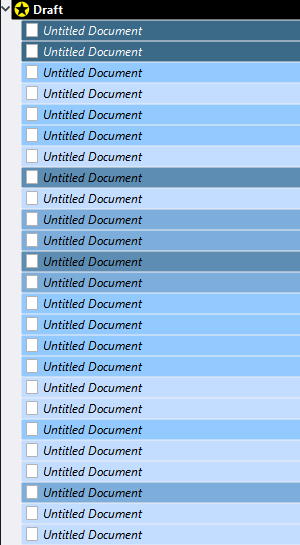
I use different colors per draft. So if I have second draft files next to first draft files, there is no potential confusion.

(You know those moments when you’re all cranked up and into working, only to then drown in procrastination, triggered off by the fact that you first have to answer the question: “Ok, so now what? What to do? Where? Why? What?” ? – I never suffer from those. That labelling system took care of it for me.)

3 Likes

Vincent_Vincent, would you be willing to share a template that has your Labels in it?

. .

Vince’s Labels-bak-2023-04-30T23-06.zip (24.6 KB)

4 Likes