Help! Synopsis and Notes not visible (but they are there)

I’m fairly new to Scrivener and have some annoying behaviour that I can’t figure out. This may have happened around the time I migrated to use Dropbox.

I organise Parts in folders containing Chapters in folders and Scenes into files within the chapter folder. I have written synopsis and chapter notes at the folder (Chapter) level and this has worked for me. I also have an epigraph which is at the chapter folder level. This was created when I first imported the file - I have no idea how I could have attached text to a folder! I probably should move the epigraph to a separate file at the start of each chapter?

My main issue is this:

Previously when I clicked on the chapter folder, the epigraph text would appear in the edit pane and I would see the synopsis and notes displayed. It no longer does that.

If I click on the Part folder I see all of the text in that part folder including the epigraph and the synopsis/notes - see below PART I selected, I see the epigraph and the synopsis for the first chapter:

However, if I click on the chapter that contains the epigraph / synopsis, they disappear:

So everything is there, I just can’t see it as I’d expect (as it used to work).

Is there a way for the Synopsis/Notes to be displayed persistently while I am working on a chapter? (i.e. regardless of the scene, I’d like to see the synopsis/notes for the chapter).

Many thanks for the noob support!

I assume on the Mac based on Inspector Icons. you should address in the Mac section. Look at whether in Scrivenings View or single page view. (I’m on windows machine but here is icon in toolbar)

image

Any binder item can have its own synopsis. So, when you are in Scrivenings View mode and are clicked on a folder in the binder, and thus the editor pane is showing the body text content of (that folder and) every sub-folder and sub-document in that folder, which synopsis are you expecting to see in the inspector? How is Scrivener to choose? The answer is — if there are multiple doc contents showing in the editor pane, the synopsis to show is the one where the insertion point currently is. Ditto for Notes.
(If your insertion point is nowhere (you haven’t clicked into the editor pane), then you will see the synopsis of the item selected in the binder.)

In your second “mystery” snapshot, you have the Cafe folder selected, but your insertion point in the editor pane is clicked into the White doc (which has an empty synopsis).

((By the way, are you aware that you have typed body text into the Cafe I folder itself? The folder icon tells me so. Sometimes people do this inadvertently, not realizing the folders can themselves house body text, so I mention.))

2 Likes

If you aren’t sure how to navigate and inspect the right things, the above posts should help. But if you are past that point and basically now wondering how you can “pin” a card to the inspector no matter where you edit, then the following might help, and is a slightly more advanced dive into how a Scrivener project can be configured.

First, have a look at the feature described in §13.1.1, Locking the Inspector, in the user manual PDF. It’s probably not quite like “pinning”, in the sense you’re describing your query.The way it works is by locking the inspector to only work on one split or another. It doesn’t look like you are splitting the editor, so there’s no harm in trying out the use of splits for the one specific purpose.

  1. Use View ▸ Editor Layout ▸ Split Horizontally.

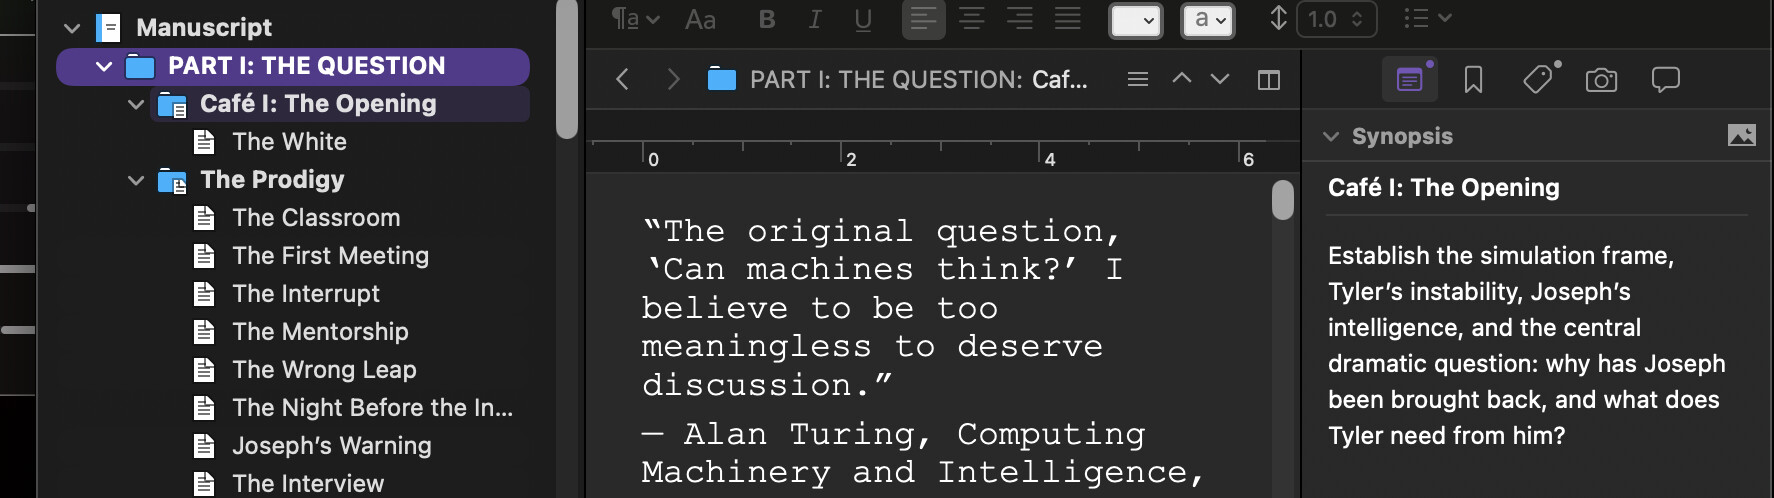
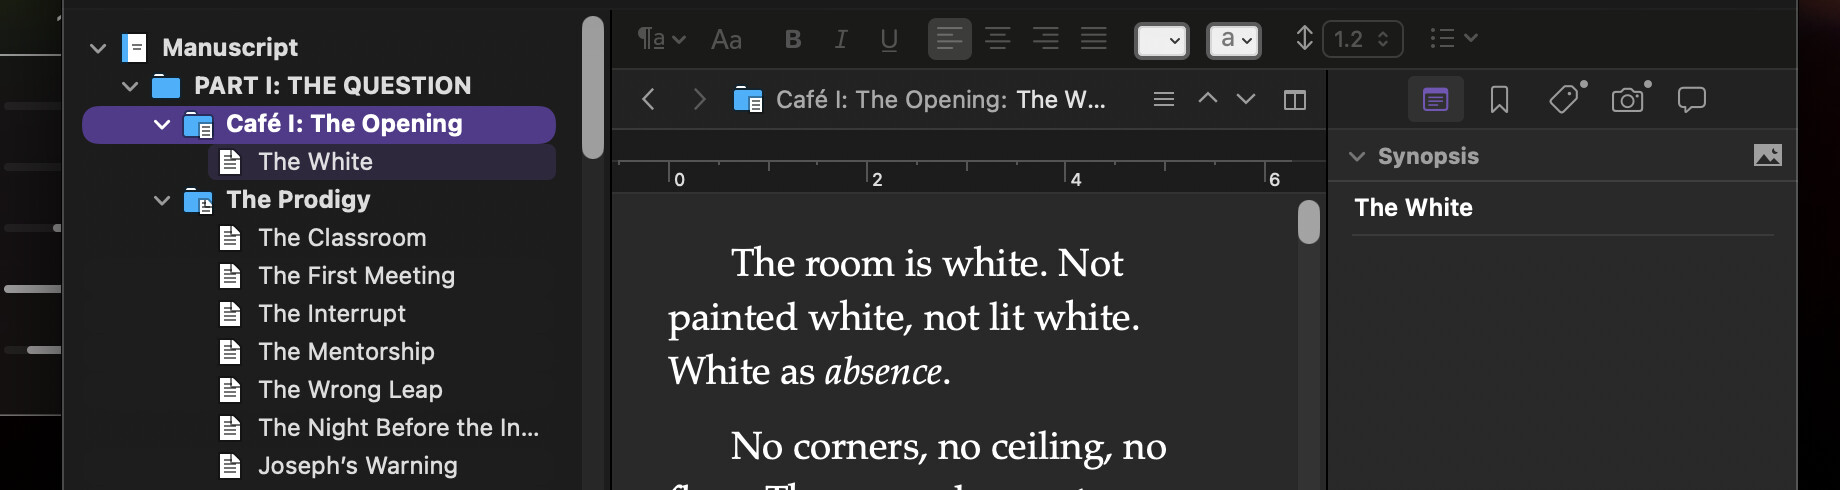
  2. Click into the top half of the editor, and select what represents your chapter, or wherever the notes and synopsis are, and turn off the current view mode (click the button that is highlighted again). In your case, you should only be seeing the epigraph text.

  3. Shrink the view down as small as it will go, or whatever you prefer, and follow the instructions to lock the inspector to the top split.

  4. Optional: use the View ▸ Binder Selection Affects ▸ Both Editors setting.

    Now with that optional setting, whenever you click on a chapter, the text of it itself will load into the top split, the inspector will stay locked to it, and the full scrivenings mode text of that group will load into the bottom split.

    Without the setting, clicking in the binder will impact whichever split is active, giving you more control over what you are inspecting, and what you are editing, in the top and bottom splits respectively.

If you find that useful, consider using Window ▸ Layouts ▸ Manage Layouts, and clicking the + button to add this arrangement as a saved layout you can return to in the future with a single click (well, you would still need to lock the inspector after using it, as we felt that tool was too specifically used and potentially confusing, for something like this).

@blunoz : I probably should move the epigraph to a separate file at the start of each chapter?

Yeah, that’s not a bad approach! Here is a little tip for doing that, which in fact addresses introductory images at the beginning of the chapter, but with an epigraph it’s really the same kind of thing at the level we’re talking about. Maybe don’t rabbit hole all of that at once, just know it’s quite fine to separate components of your chapter out into separate outline pieces, either by kind or by narrative purpose.

But there is no harm in using the folder text area for that kind of stuff too. Arguably it’s a very good place for preamble material that isn’t really a part of the main content of the chapter, but of the whole chapter. All elements of the draft can have text for a reason. It’ll be something you’d need to tweak your compile settings for, once you get to that point. There are factory presets that print both something’s title as a heading and its text content, which is a good setting when using “folder” text for stuff like epigraphs, “What you’ll learn in this chapter”, pictures, and so on.

Really it’s up to you. The software imposes few limits, so that you can use the outline and other inspector tools to your maximum advantage. Speaking of thinking outside of the box though, consider the implications of what I said above, by default whatever you type into a folder’s text area won’t export! That makes it a good choice for chapter notes. Look at that split set up… you’ve got a place right at the top of your chapter text, that stays fixed as you scroll, where you can type notes. It might be more straightforward than locking the inspector. You don’t even need the fancy dual-click split setup at that point, as Scrivenings mode by natural includes the group text at the very top. You can simply split the editor and keep the top half scrolled to the top as you work in the bottom half.

Again, more options… :laughing:


@GoalieDad : I assume on the Mac based on Inspector Icons. you should address in the Mac section.

For very fundamental question about how the software works, it is encouraged to not divide such queries into platform specific discussions. Those categories are better reserved for questions that have no actual answer from other platforms.

1 Like

Thanks for the response @gr

The strange thing is that I have other folders/chapters that have a synopsis that show when I click on the folder AND any of the scenes in that folder - this is the behaviour I want but I don’t know how to achieve.

In my screenshot, the folder “Cafe I” has a synopsis - I can see it when I look at the outline view but it doesn’t show when I click on the folder. This is the mystery I’m trying to solve.

Second question … yes I’m aware that my epigraph is currently text attached to the folder (thanks for pointing out the icon difference), but I’ll be damned if I can figure out how to edit it. I’d expect it to show up in the scrivenings pane when I click on the folder. If I click on the top level folder (PART I in my screen shot) you can see it there but in my second screenshot you can see I’ve clicked on the folder and it doesn’t display.

I have other chapter folders (created later) that have a synopsis attached to them and when I select a scene (text file in that folder) - the synopsis from the chapter folder is displayed. This is the behaviour I’m trying to achieve. There must be some setting in the folder but damned if I can find anything.

Thanks @AmberV, that’s useful and I’ll definitely use that feature.

However… it still doesn’t clear everything up for me.

In my screenshot, the folder/chapter (Cafe I) has a synopsis but it isn’t displayed in the inspector when I click on the folder.

Nor is the text attached to that folder (the epigraph) displayed when I click on the folder (see second screenshot). How do I go to the text that is attached to the folder? (you can see it in the first screenshot).

Weirdly I have other folders in my manuscript that behave the way I’d expect - clicking on the folder shows me the chapter synopsis/notes and it persists for every text file/scene within that folder.

One theory I have related to the synopsis/notes is that I may have accidentally added something into the synopsis for a scene and the app thinks there is a synopsis even though I’ve subsequently deleted everything in the inspector for that scene?

UPDATE: Okay I feel dumb now, but I didn’t realise the scrivenings button could be turned off. This lets me see the text attached to the folder (epigraph) but not the subdocuments. I would have expected that in scrivenings mode I would see the folder text (the epigraph) AND the subdocuments. Am I wrong here?

This is an option you can set in Scrivener ▸ Settings... in the Behaviors tab. Select Folders & Files from the list on the left, then tick the box to Include enclosing folder text in scrivenings mode. Reload your folder in Scrivenings and you’ll see the folder text as the first item in the editor, and clicking into that will also display the folder info in the inspector, including the synopsis.

1 Like

I suspect the yellow tip box, directly above the section in the manual that I sent you to, might help answer that question to a degree. It is more aimed at corkboard and outliner usage though, where clicking on a group restores your previous card selection (for example), which thus is the thing that is inspected, rather than the group itself. This concept is briefly described in §4.1.2, subheading, Left to Right Navigation. The inspector works with the editor, not the binder (although in very simple cases, like clicking on a single text section, the two can appear to align).

In this case, with Scrivenings view mode, it is where the cursor is that matters to the inspector. You can see where your cursor is in the header bar, where it states the group name, in grey text, followed by a colon, and then the active section your cursor is in.

So, in screenshot A) “Part I: The Question” is the group, in grey, and “Café: The Opening” is the part in white, the text of the group. You can see the text of it here because your setting to omit the group from scrivenings mode only applies to the group you select, not groups within it.

Thus when you descend a level in screenshot B) now we can see “Café…” in grey, the selected group (now missing because of the setting), followed by “The White”.

In both cases the inspector indicates what section it is inspecting at the top of the index card.

I would definitely consider turning that aforementioned setting back on, because it sounds like you’d prefer to see the whole hierarchy of text when you select things, not just the stuff underneath/indented-within, what you select.

1 Like

Yay!!! Thank you @MimeticMouton !!! :partying_face:

Very clear @AmberV, thanks for the tips and all your help. The settings fixed it for me!

1 Like