I’m trying to isolate the Outliner to my Draft folder, but for some reason, it’s on across almost my entire Binder! 

I’ve set it up with custom metadata following Shawn Coyne’s Story Grid.
How do I fix this so it’s restricted to the Draft?
I’m trying to isolate the Outliner to my Draft folder, but for some reason, it’s on across almost my entire Binder!
I’ve set it up with custom metadata following Shawn Coyne’s Story Grid.
How do I fix this so it’s restricted to the Draft?
The outliner will only show the content of a parent document or folder selected in the binder. So, select only your draft/manuscript folder. Not the content too ; just that one binder element.
After that you’ll be able to sort or filter using fields, such as your custom metadata.
That makes sense; however, there’s no content in the Draft folder yet, as I’m in plotting/prewriting mode.  My issue is that the custom metadata is repeated in nearly every other folder.
Unfortunately, I don’t have image-posting capabilities yet, or I’d share an exact screenshot.
Then create a master folder for your outlining, have all your current outlining and story development material (documents) in it (everything you wish to see in the outliner).
Select that folder in the binder and the outliner will exclusively display its content.
Then that folder can sit anywhere you see fit in the binder.
. . . . .
This said, nothing stops you from having your present content in the draft folder. It would make things easier for you should you have to compile. Say you want a printout, or a Google docs version to take around with you.
Else, use “Current Selection” to compile. As long as your material to compile isn’t all over the place.
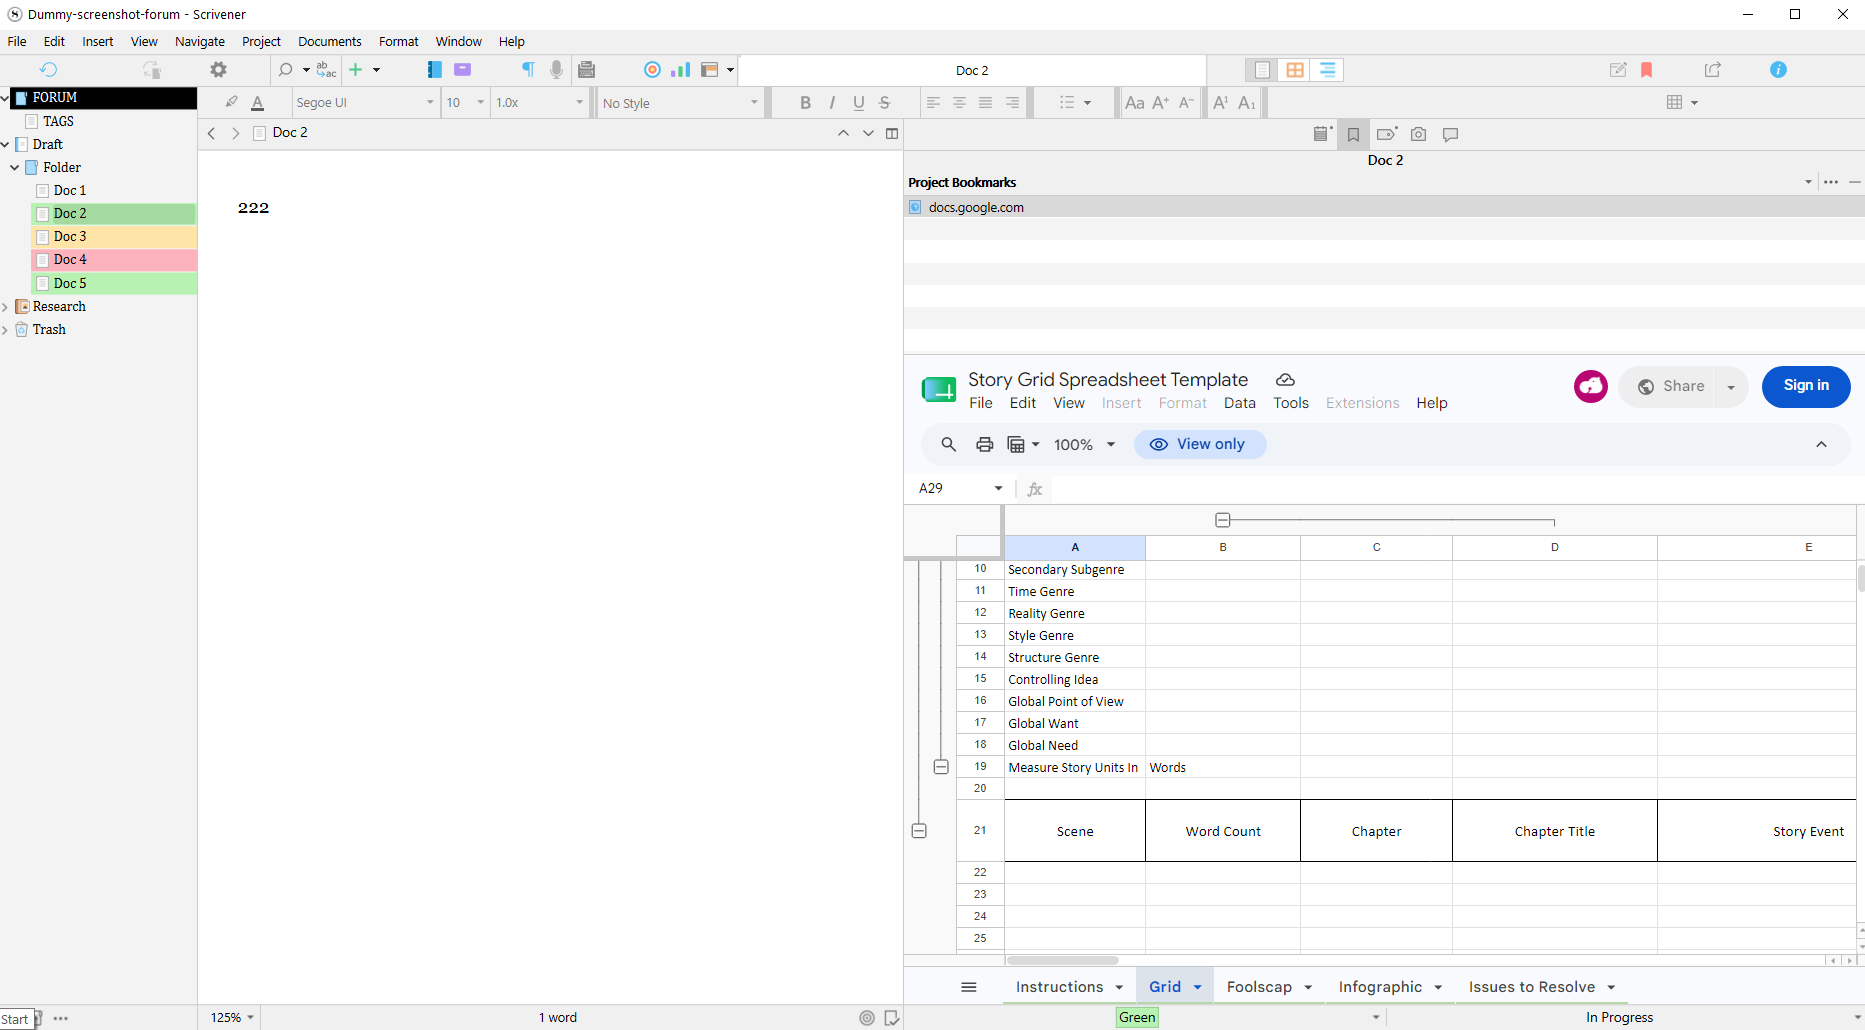
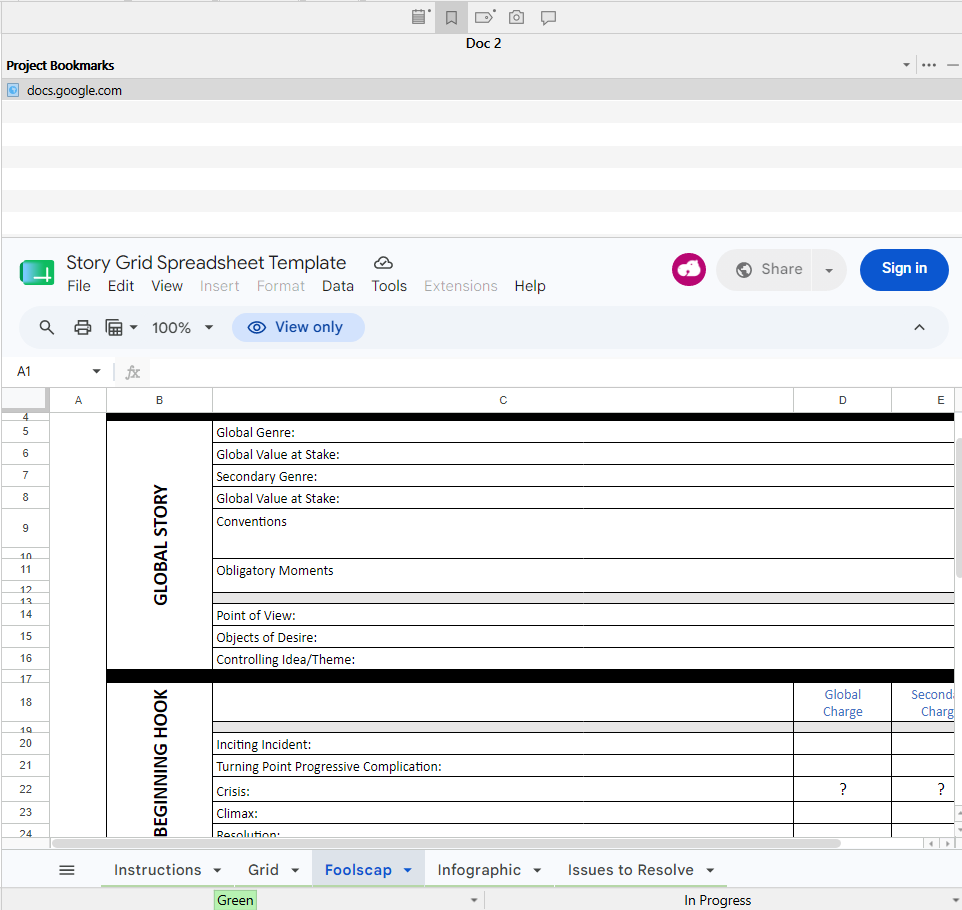
Here’s what I’m trying to replicate in Scrivener: Story Grid Spreadsheet Template - Google Sheets
I could use the Excel version, but I’d love to be able to offer others a template with this adapted for Scrivener.
Am I overthinking this? Probably. Do I still want to try and make it work? Yes.
This is presented vertically, as a sequence of data. The outliner presents data horizontally.
The only way you’ll get this is through a custom compile format and a compile.
(Or via a print of the outliner, but with limited control over the output.)
Or else, you do it at the document body text level, and insert all data in the text. Therefor rendering null the ability to sort via metadata.
Note that the template you’ve shown doesn’t seem to allow any specific functionality either.
Okay. How do I do that? I’m not well versed in Scrivener at all. This is my first intentional use of it since I got it a few years ago.
(Sorry for being annoying/clueless.)
First, you create your custom metadata fields.
Then, you display your content in the outliner, the way I explained above.
Then you tweak a compile format to include the custom metadata fields you want, using <$custom:…> placeholders, set in the order you want them infos to be compiled.
And then you compile.
. . . . . . . . . .
Nothing to worry about. The forum is for people with (software) issues and/or questions. 
You fit right in.
I’m still SUPER confused. All I have is my custom fields. How do I do the rest? 
(This is way more complicated than I anticipated, and I might have no choice but to give up.)
Have you been through the interactive tutorial ?
Help / Interactive Tutorial...
After that, read the manual. Scrivener is a very, very able app, but complex therefor. One can’t just do anything he/she wants right of the start (unless one only needs basic stuff). It requires patience and the desire to learn it right.
(The other writting apps look way simpler in comparison because they are, simpler, and just can’t do what Scrivener does.)
Focus on the outliner view, and read whatever you need to read in the manual as to where your current needs take you. Or sit back and read the whole thing. But read from the manual.
Personal advice :
At this point, forget about designing a template for others. Focus on your own writing.
I’ve looked at the file you’ve linked to again.
The bottom part of the “Grid” tab, the outliner can reproduce. (But at compile it will be as I said : the data will be laid out vertically, not horizontally.)
I could design an usable version for you so you can focus on the other stuff (oh there will be other stuff), but only if you have your own metadata fields – I am not going to rip off someone else’s work.
(It, doing it for you, wouldn’t be that much of a favor, though ; you’d still have to learn how to do it at some point.)
. . . . . . . . . .
By the way, in case you don’t know, you can easily link to your version of that file you’ve previously mentionned as a reference, in your project. That’s what, among other things, project bookmarks are for. (In this case it might fail on the comfort side, though ; the file is surprinsingly wide.)
Alternatively, you can use a simple link and have that page (loaded in your web browser) on the side or in the background, easy to bring to front, whenever you have to.
If that file is just as you want it, then using it as is, in the project bookmarks or in your web browser, is your best option.
Note that all metadata fields, custom or not, are available for any document in the project. You can choose to only display the Draft folder, but there’s no way to have a metadata field only available in the Draft folder.
Press Control/Command + 2 to show the Outliner.
Add your Custom Metadata columns using the menu that appears when you click the button above the right hand side Scrollbar of the Editor.
Drag the columns to the correct horizontal location.
Vertically the Outliner shows your manuscript structure, horizontally your columns with Custom Metadata.
At the crosspoints you can enter data and numbers per Section. That is how the Outliner works. 
OH!
I FINALLY UNDERSTAND. I was in Subdocs viewing mode instead of Outliner, and I can put the rest of my Binder in Subdocs, too. 

Edit: It still switches modes for everything. Oh, well. I’ll just link externally to the Excel sheet. Reality - 1 Wishful thinking - 0.
When you have set up your outline how you like it to look, go to the Window menu and explore creating a saved window set up that you can create a shortcut to. That way you can return to that window set up at any time.
I’m not at my computer at the moment, so I’m sorry I can’t be more explicit.
Mark
You’ll save a lot of time and stress by taking a look at our Interactive Tutorial, available from the Help menu. It’s a good overview of how the pieces of the interface work together.