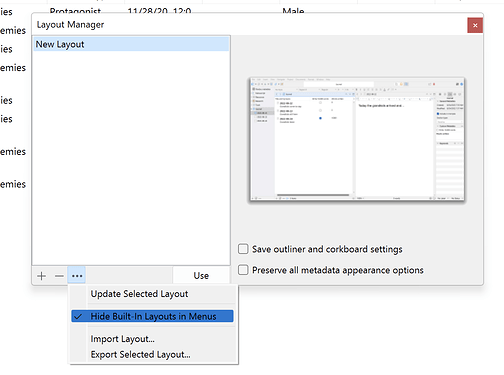
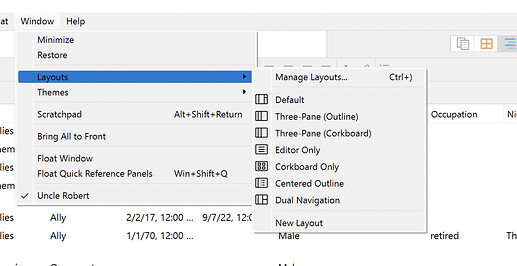
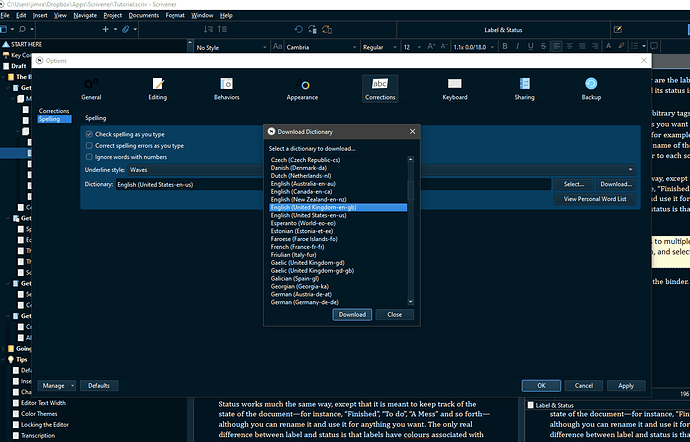
I suspect it’s just a ‘largest market’ thing. Even on the Mac, there are terrible spelling mistakes in the menu – look at the Use color in items, for example  .
.
I suspect that one may have something to do with some controls having to use the US English default mispellings (e.g. The Color picker is a MacOS-wide thing, and that’s how it’s spelled everywhere), so it would be a bit jarring to have the menus spelling the word properly. (NB: I have no idea whether this is true or not…)
As for your request for a functional description of how Scrivener works, then the Interactive Tutorial (on the Help menu) is still the best guide to that. You will find in it the basics of not just the ‘how’ features work, but the ‘why’. It gives you the ‘language’ to understand how to get the best of the program.
For your specific question, here’s a general overview of how the Binder works. (Of course there is a lot more complexity behind the scenes, which is totally beyond me, but I think this is a reasonable approximation….)
The Binder contains two types of element: folders and files.
Each item in the Binder represents a ‘package’ (not a scrivener term) of various elements:
- the content (text, image etc)
- a synopsis
- notes
- metadata
- snapshots
Behind the scenes, each of these has a physical representation on your disk: look inside a Scrivener project directory and you will find a .scrivx file (which is effectively the representation of the Binder) and a series of directories. Inside Files you’ll find a long-numbered directory for every item in the binder, and inside them, you’ll find:
- content.rtf
- content.styles
- notes.rtf
- synopsis.txt
(The last two only appear if the item itself has a synopsis, notes etc.)
The [your project name].scrivx file is an xml file which ties these disk folders/directories to what you see in the binder. It also holds the metadata for each item. This is why it is essential to copy the entire project directory on Windows: if you only copy the .scrivx file, you’ll lose the links to the actual data and your items will be empty.
When you’re in the Binder and you choose an item and a view (Scrivenings, Cork board, Outline), Scrivener pulls the various elements together and shows you them in the most appropriate form.
E.g. If you’re in the Cork board, it takes synopsis.txt and shows it as the text of the front of the index card and/or shows the same text in the Synopsis Inspector panel if that’s visible. If you’re in the Editor, you’ll see the contents of contents.rtf. If the Inspector panel is visible, you’ll see the metadata, the notes and synopsis, snapshots etc, depending on which panel you’ve chosen.
You’ll notice that so far I’ve been talking about items in the binder, not documents/files or folders. That’s because folders [*] and files are fundamentally the same: they all can have content.rtf, notes.rtf, synopsis.txt etc.
One corollary of this is that it’s not true that:
…binder can have text boxes or folders or both. Folders can have text boxes but not other folders… etc
Every item in the Binder can have files or folders, to as much depth as you want. Folders can have folders and files as children just as easily as files can. (When a file has children in the binder, it’s technically known as a ‘File Group’, but it’s still just a file with children as far as its other features go.)
So why have different names for folders and files?
It’s because there are a few (not many) differences in the way they’re treated. For example:
-
if you click on a Folder in the Binder, the default action is to show it in ‘multi-file’ view: e.g. If you’re viewing the editor (ctl-1) you’ll see the contents of all the children in Scrivening mode. If you’re in Outline mode you’ll see the outline of the children etc. In contrast, if you click on a file, you’ll just see the contents of that file. This default behaviour can be changed in Options.
-
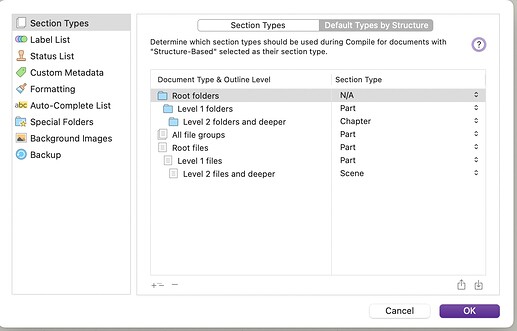
Scrivener can allocated default Section Types to different layers in the hierarchy, depending on whether it’s a folder, a document or a file group. Have a look at Project > Project Settings > Section Types > Default types by structure to see what I mean.
Note how a second level folder has a section type of ‘Chapter’, but a second level file is a ‘Scene’. So, by choosing which items in the Binder are folders, file groups or files you can have a lot of flexibility about how your project will eventually be compiled, without having to manually assign a section type to each item.
There are probably other differences, but I think those are the main ones.
HTH.
[*] There are three ‘special’ folders in the binder: Manuscript/Draft, Research, and Trash. You can rename them, but you can never delete them. They also don’t have text, synopsis or metadata etc.


