I am a complete newbie to writing and this program. I began with making an introduction for my book then made chapters in Editor and in the Binder. The mess began when I started pushing buttons at the top. Somehow the Binder with my chapters is still there but all the chapter boxes which were in the editor are gone. I’ve tried to retrieve in backup. The files are found but cannot open them.
Any suggestions on where the chapter boxes in Editor might have gone it any of this makes sense. lol! Thanks!
I’ll assume that by “chapter boxes” you mean cards in the coarkboard.
Select your draft/manuscript folder in the binder, then click this (at the top, in the toolbar) :
I would recommend that you take a look at the interactive tutorial (it is under the “help” menu) so that you may familiarize a tad with what is what, and the nomenclature we use as regard to elements of the software.
Make sure you have selected the master folder (named “Draft” or “Manuscript” by default) first.
If that doesn’t work, then perhaps you have misplaced your files outside of it.
Select your files (what you called “chapters”, if I assume right) from the binder (all of them, using ctrl-click or shift-click), then click the icon from my previous screenshot.
?
. . . . . . . .
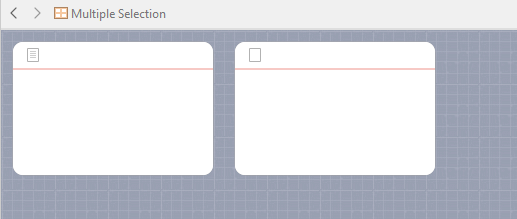
Can you please confirm that this is what you call “chapter boxes” :
These are “index cards” by the way.
They are intended as a convenient way to have an overall look at a project’s content, and to juggle with the order of files if need be (to try things out, etc.).
Their purpose is otherwise referential and navigation mostly. They are not where you edit a file per se.
Scrivener video tutorials are a great place to start when orienting yourself. A good strategy is to create an empty test project and practice what each brief video is demonstrating. You will become proficient in Scrivener quickly.
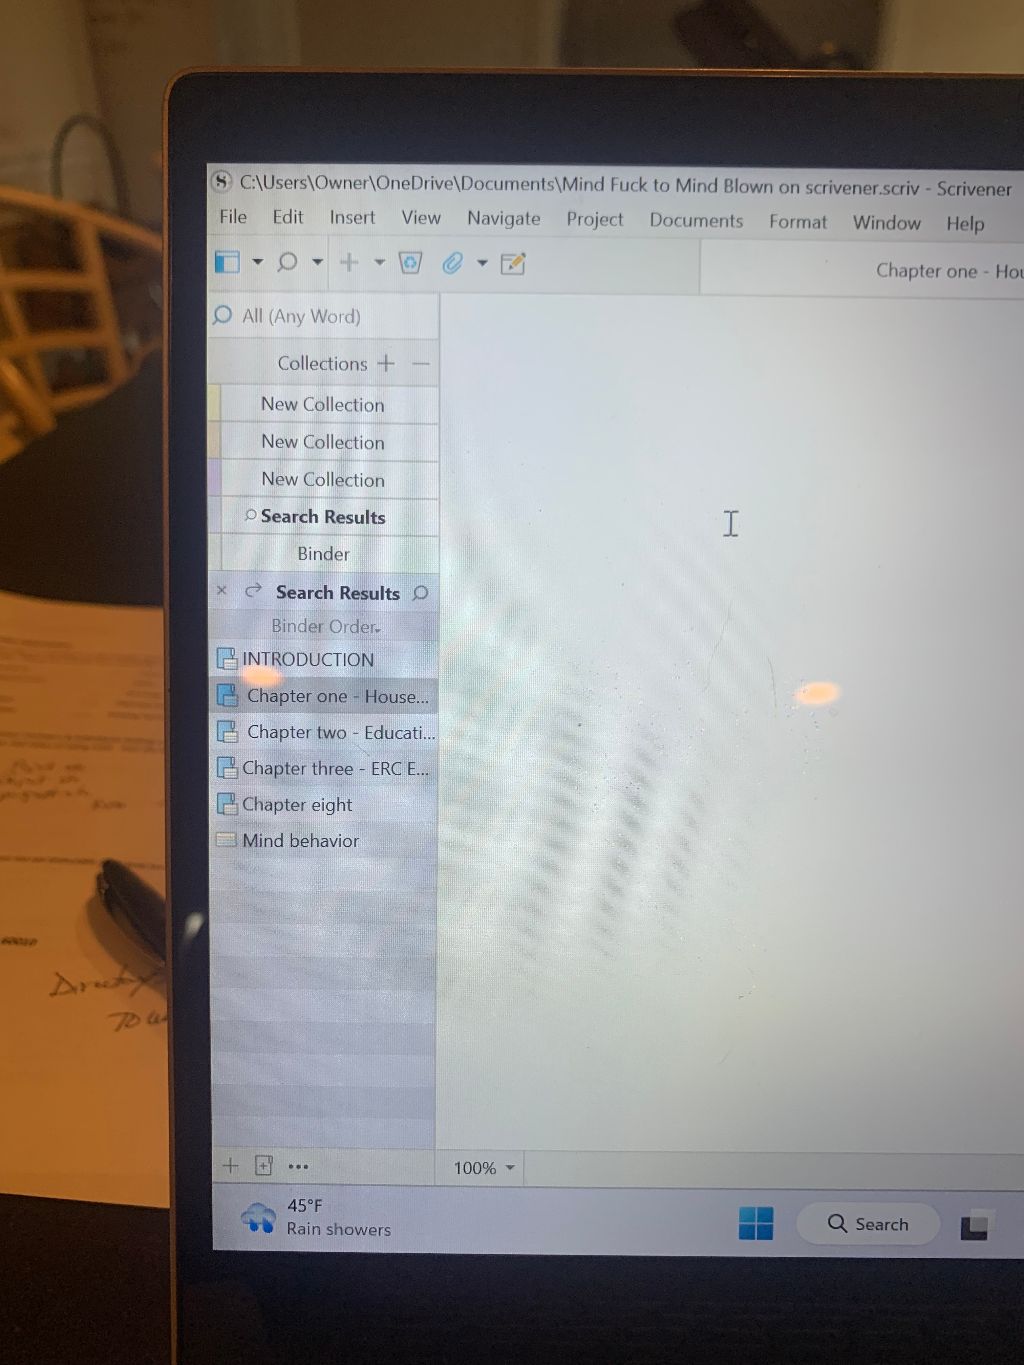
You are in the search results, not in the binder as you need to be.
Double click the magnifying glass icon in the toolbar. (The second icon in your “screenshot”.)
Then hide collections: View/Collections
P.S.
Here is a great (and free) tool for screenshots. (For next time.)
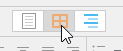
To view the content of a folder in different ways, use this view selector :
You actually want the second one.
Which is the corkboard.
The third is outliner view.
The first is standard display. (And it toggles for sub-documents too.)
. . . . . .
That is another topic completely, but I also see from your screenshot that your project resides within your Onedrive folder.
That might be of some concern.
If you don’t plan on using sync, perhaps move it out of it.
(If you do, Scrivener won’t know the new location. You’ll have to load the project by double clicking the file with the Scrivener icon inside the project’s folder once ; after which all will be fine.)
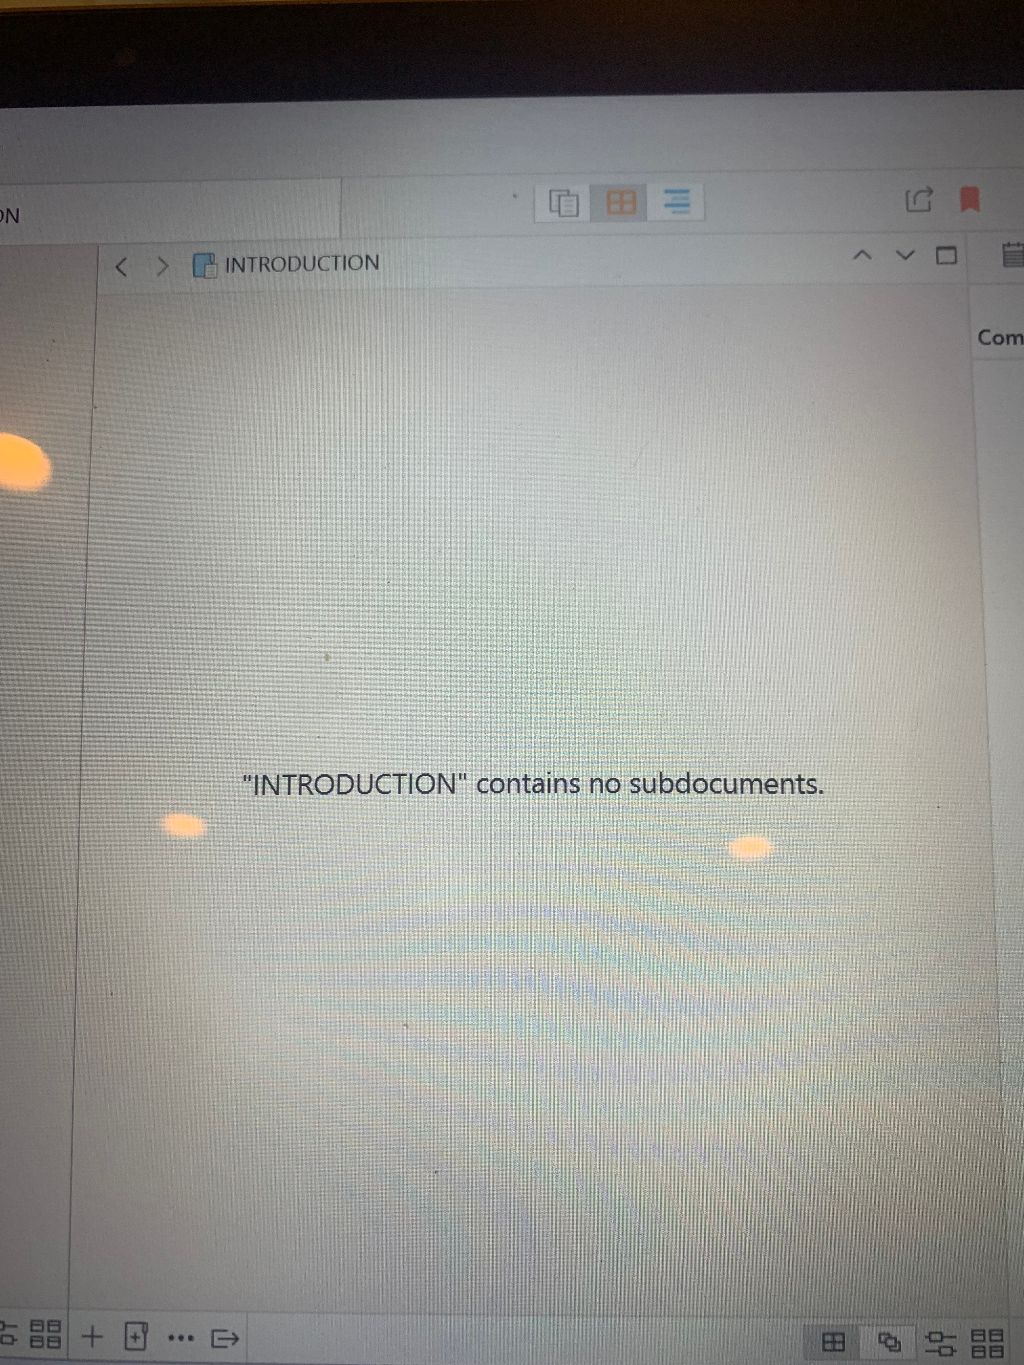
It means what it says:
Your subdocuments, although likely just below the folder in the binder, are not inside it.
In the binder select all of the documents that belong to a folder, then hit Ctrl + Right arrow.
And please use the tool I linked to for future screenshots.
Those little index card icons in your first screenshot indicate that those documents themselves have synopses. That is, the index card isn’t “in” the folder, but effectively paper-clipped “to” the folder.
You can see the synopsis for any individual item by looking at the Inspector pane for that item. To see all of them at once, you’ll need to go up a level in the hierarchy, to your Manuscript (or Draft) folder.
If you haven’t already, I’d recommend taking a look at our Interactive Tutorial, available from the Help menu. It’s a good overview of fundamental operations like this and will help you get oriented in the interface.
In this screenshot, I’ve marked where the Draft/Manuscript root folder is typically seen at the top of the binder.
I’ve also marked where the Corkboard view icon is. And, I’ve marked the synopsis field in the Inspector panel.
As kewms noted, reviewing the Interactive Tutorial could help you find your way around Scrivener more easily and without using your project as a testing space.
You might also review the first few chapters of the user’s manual. You can access a PDF of it from Scrivener’s Help menu, where it’s stored next to the Tutorial.
We also have Windows tutorial videos, and links to them can also be accessed via Scrivener’s Help menu.
Reviewing those videos could also give you a feel for how the program works and the terminology used in the Tutorial and manual.