Often, I do a project-wide search for particular text. I’m presented with Search Results at the left-hand side of the screen. The results may be found in a number of different scenes. Is there a way to find the particular scene within the Binder?
For example, I search for a name (“”). I see that appears in four different scenes. I click through the results and find the particular scene I’m looking for where appears. But I don’t see a way to directly find where that scene appears in the Binder. I then have to close out the search results and open the Binder, and try to find that particular scene.
Hi.
Right click the document’s icon in the editor’s header > reveal in binder.
This will close the search results, restore the binder with the active document selected.
If you have a few documents of interest as your search result, you can save the search result as a collection to go back to it later, or alternatively, select all the documents of interest, and give them a specific icon to make them stand out in the binder. (There is a good couple of other ways you can make them have a unique trait to quickly achieve somewhat the same. Labels, custom metadata field, keywords…)
I knew it had to be something simple like right-clicking. I had tried that, but I didn’t see the “reveal in binder” choice until you told me to look for it.
It’s worth noting that ⌘+⌥+R is the key-command for Reveal in Binder, which saves reaching for the mouse.
btw, there’s a neat trick for speeding up the type of search you are doing.
First, after ⇧+⌘+F, enter the search text, as usual. The appropriate files will be listed. Now hit ↵
Although nothing is highlighted, the “cursor” has moved to the search results. Type: ⌘+A (i.e. Select All). This will create a scrivening in the editor of all the files found during the search.
You can now navigate though the scrivening in the usual way. e.g. ⌘+G will find the first and subsequent occurrences of the search text, allowing you to step through your search results one by one – you can edit as you go, if you like.
It’s also worth noting that above scrivening remains in the document history. So, if you carry on working and later decide you want to return to it, you don’t need to redo the search. Instead you can use ⌘+[ and ⌘+] to move back and forth through the document history.
[I replied to the wrong person, but the forum software won’t let me correct it. This was intended for @KJIsaacson]
Actually, cmd-g should work on phrases (and regex) as well. It’s just the Mac shortcut for ‘Next’ in a search context, so if a search finds the first match, cmd-g should move to the next, if there is one.
The only way I can make it fail to have an ‘any words’ search. Are there any others?
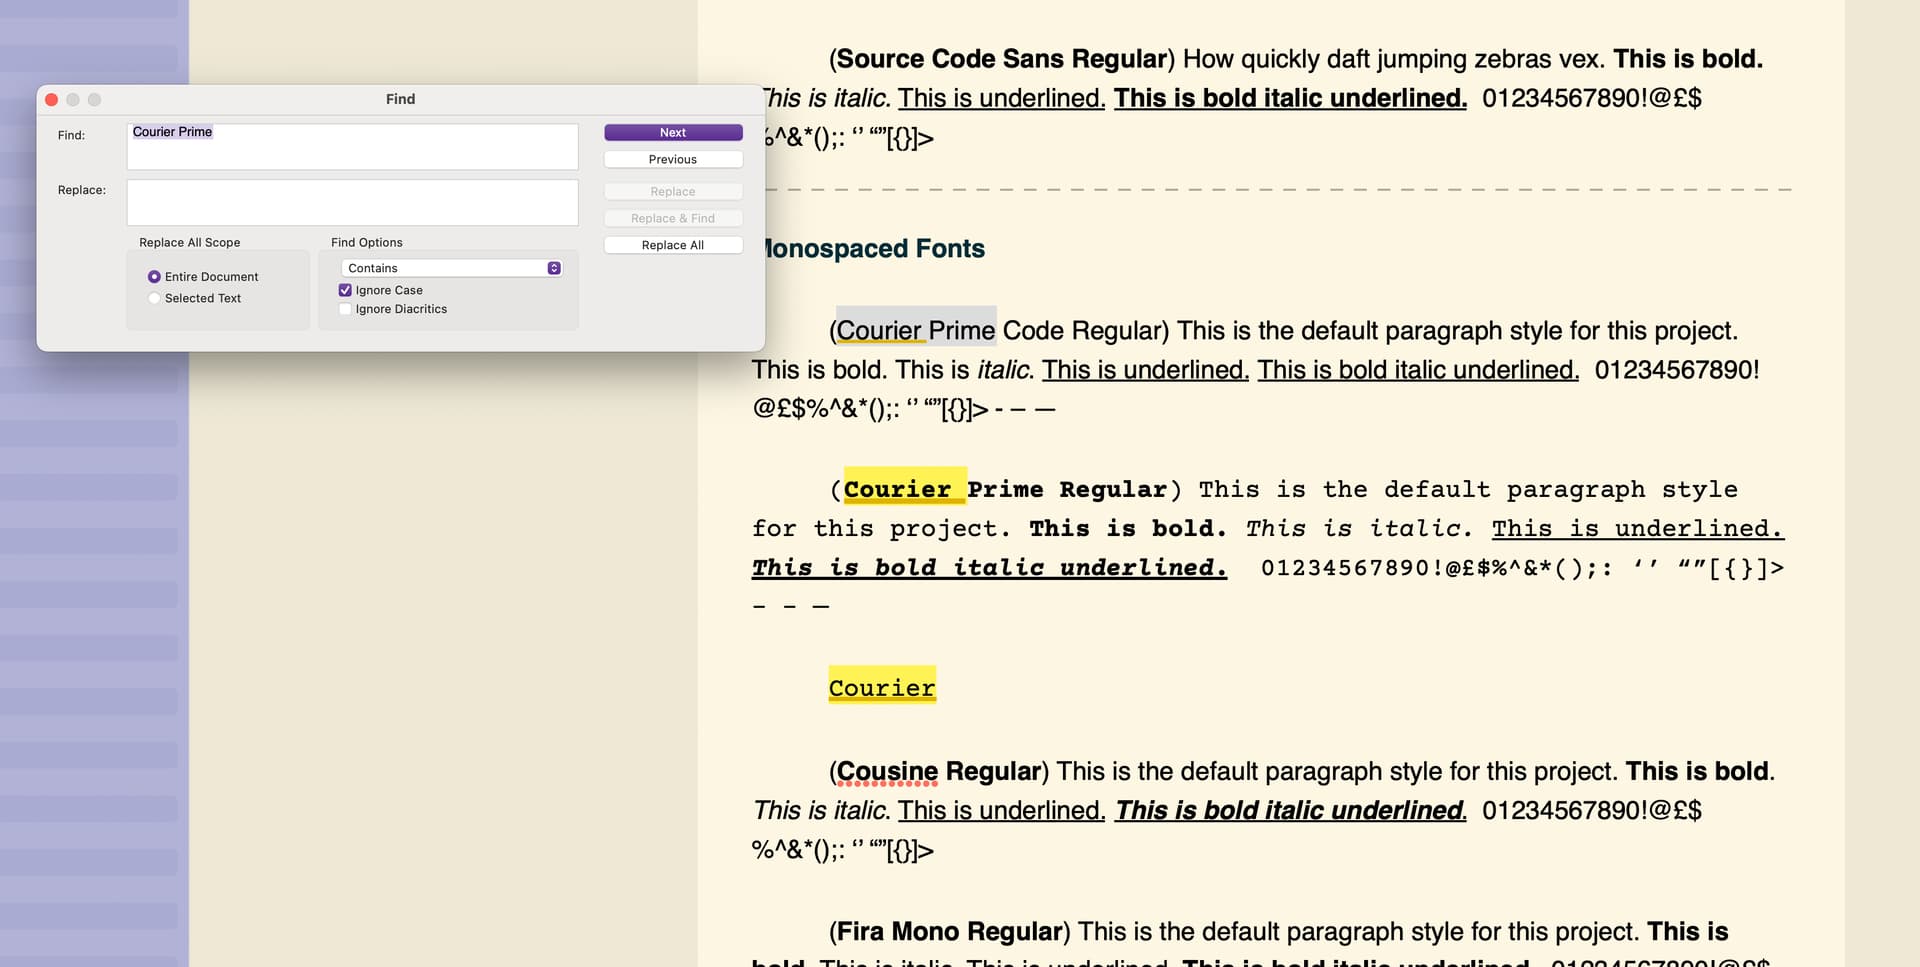
I’m not sure what you’re doing differently, but it definitely works for me, as you can see from the screenshot.
There are something like 30 matches for Courier Prime in the scrivening, and cmd-g will cycle through the lot, while ignoring Courier when it’s not followed by Prime.
NB: the highlight only matches the first word (Courier) after the first match, but cmd-g nonetheless cycles through every match of Courier Prime, while ignoring those which only consist of Courier without the Prime. So it’s matching the phrase accurately, even if only the first word is highlighted.
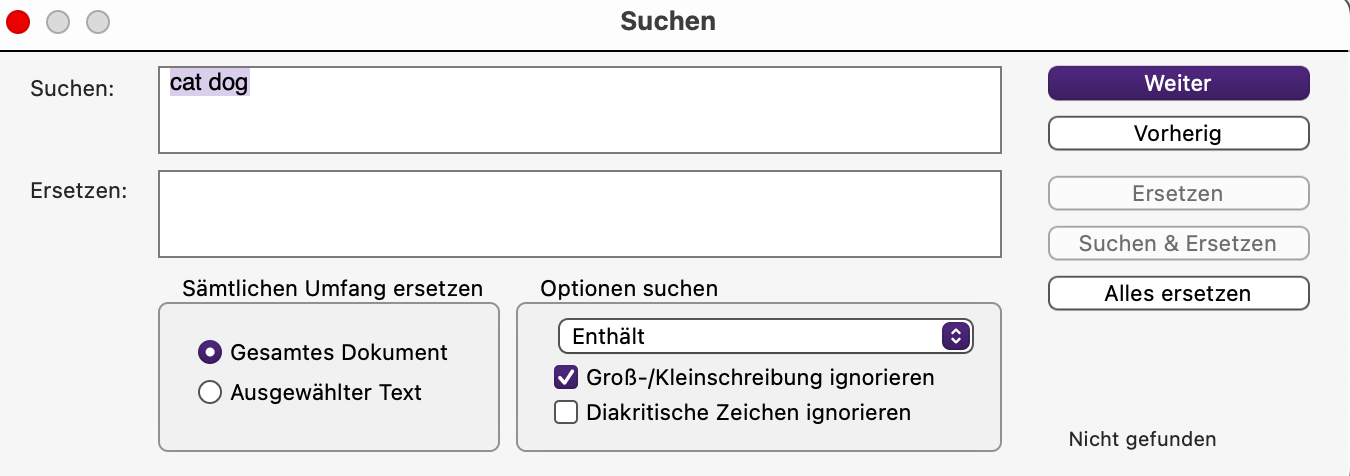
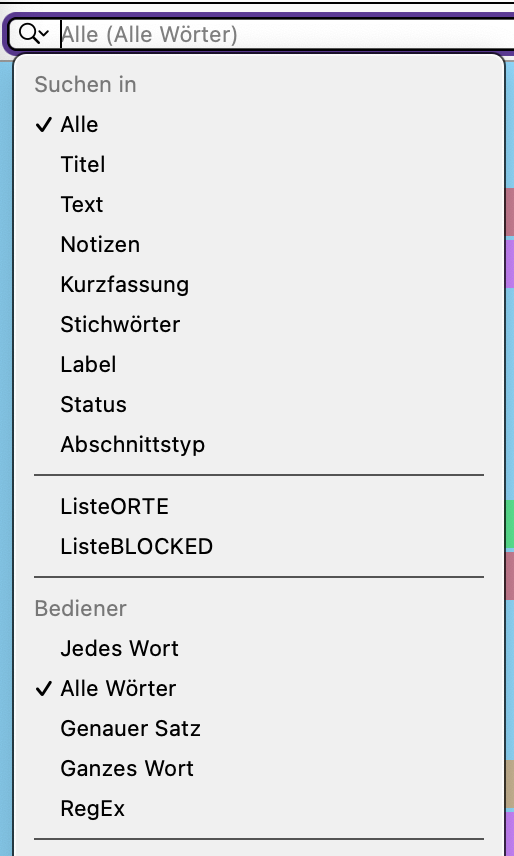
So, cmd-g definitely works for the purpose we’re talking about, at least for me. Am I right in thinking Enhält means ‘contains’, so it looks like we’re using the same settings? I have no idea why it doesn’t work for you, sorry…
Thanks for your screenshot… It took me a moment to understand what I was seeing.
In the project you were searching for “Courier Prime”, with quotation marks. Right? Then the exact word sequence is searched for. It’s like searching for one word. But why is Courier also highlighted as a single word?
No, no (explicit) quotation marks in the search. It’s just a standard search on a phrase, with ‘contains’ as the Find Option. That’s the equivalent of a Google "search phrase", of course, but they’re not added by the user here.
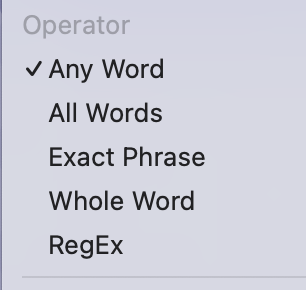
The original project search was ‘Exact phrase’, but I can’t detect any difference if the original search was ‘any word’.
It is odd that the highlight only shows the first word, but ‘Next’ and cmd-g definitely only cycle through the phrase match (the plain ‘Courier’ font, and ‘Courier New’ are not matched. That is, the Courier of Courier New is highlighted, but it’s ignored by ‘Next’ and cmd-g.
No, I can’t explain why the highlighting works that way!
No problem. Scrivener has many ways of doing many things, and it doesn’t all come at once. In fact, new ideas still pop up every now and again, which is why I like to wander through here from time time. Folk are endlessly imaginative.
The thing I wrote above, I learned here. I would never have found it on my own, and it soon became a core part of the way I work. I just thought it was worth sharing again.
I often find I need to do a search across a large portion of my project (typically I select a folder representing a part in a novel -approximately 40k words) and then I have to search for a word pattern to try to find the spot I want.
I would love it if I could quickly/easily tell where in my binder project structure the cursor is in the writing view.
Right click editor icon to pick reveal in binder. I also use comments to highlight key points in a scene. Clicking on comment( could color code by type of comment) takes to point in editor where you attached it.