I want to outline my novel with a detailed plot outline, and ALSO have the manuscript text itself alongside it. I am using outline mode, but I only see how to make a section title and description and not a detailed outline without writing in the outline in the text, but when where do I write the actual ms? Thanks.
Hi.
Outline mode is at the documents level. (Like the binder is.)
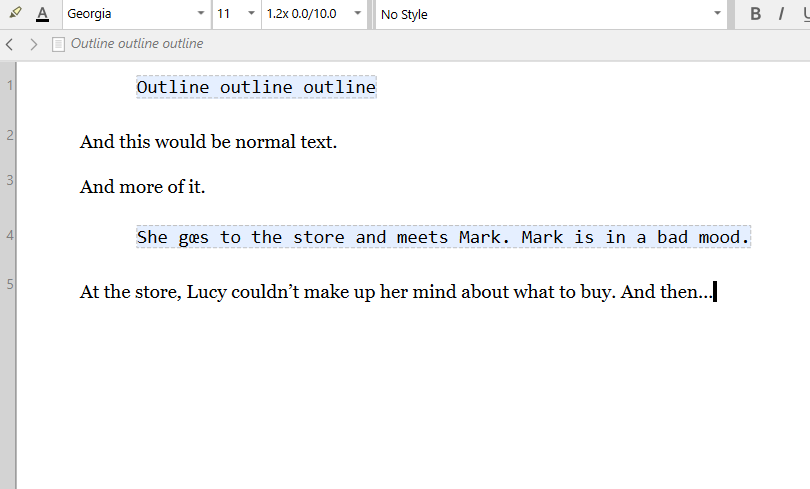
If you want to outline a chapter and the synopsis panel doesn’t do, two things you could do are to either create another document to outline your chapter in (and then you’ll be able to have it side by side with your actual chapter’s text), or – that’s how I do things – use a style (Paragraph Formatting) with a background color to outline and write in the same document.
When I do outline in the document I also write in, I actually end up deleting the outline as I have it properly written. So it works fine. (I can always go back to a snapshot to copy/paste from, if ever needed.)
If you don’t want to delete the outline until the very end, you could set your compile format to remove text of the Outline style. (For if you have to produce a compile without the outline. Say for a beta reader, for example.)
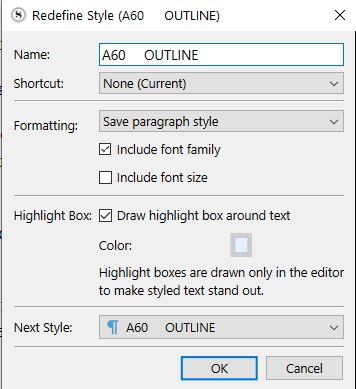
P.S. There is no pre-existing “Outline” style. You have to create it yourself.
. . . . . . .
There is also the notes panel that allows formatting, as opposed to the synopsis panel that is plain text only.
If you don’t take notes, you could always use it to outline. (Another option.)
There are two main ways you can go about this using the editor and outliner together:
-
Toggling: the Outline and Scrivenings view modes are designed to be seamlessly linked together. You can toggle between them with ⌘/Ctrl1 (for scrivenings) and 3 (for outliner). While you cannot see both at once with this method, it is ideal if you have limited screen space, or want to use the other editor split for something else (like research text). But another reason to use it is that seamlessness I spoke of. If you click on something in the outliner, or switch back to scrivenings wherever you left off working in it, you’ll be scrolled to the right spot in the overall text—and the same is true when switching from text to outliner.
-
Splits: the best way to experiment with this approach is to use the
Window ▸ Layouts ▸ Three-Pane (Outline)option.[1] This will make Scrivener work a bit more like a mail client, where you use the left sidebar to pick larger areas, and then the middle column to outline. Selecting items within this middle column automatically loads them into the editor on the right.But you may note that changes how your outliner looks. Primarily you can toggle this “fixed height” look off with
View ▸ Outliner Options ▸ Use Fixed Row Height.The other thing to note is the button in the outliner footer bar that looks like a rectangle with an arrow pointing right. This is what toggles the behaviour to automatically scroll (or load) the selection in the text view on the right. So that can be handy to switch off and on if you want to do some work in the outliner column without things jumping around on the right.
You may also wonder why the binder doesn’t update the right split, even when you’re working in it, that’s thanks to the
Navigate ▸ Binder Selection Affectssubmenu having been set to the left editor only, in this layout.
Either way, you may also want to use View ▸ Text Editing ▸ Show Titles in Scrivenings, from scrivenings view.
If you tweak the setup and want to keep your settings for the future, use Window ▸ Layouts ▸ Manage Layouts... and click the + button in the footer bar to save your overall setup. You can switch between this kind of three-pane setup, and something simpler, much more easily now.
On Windows this layout is disabled by default as it was never properly finished. You can enable it by opening the Manage Layouts window, clicking the
•••button, and selecting “Show Built-In Layouts in Menus”. ↩︎
2 Likes