Okay, now I feel kinda like Po the Kung Fu Panda when told Shifu would not have taught him the Wuxi Finger Hold, and he goes, “Nope…I figured it out!”
That said, I’ll share what I learned here in case someone else has a similar problem.
As mentioned before, I need to use MediaWiki’s Markup code. And while some of my fellow collaborators have been using MediaWiki for years and can practically use that Markup code in their sleep, I’m nowhere nearly as proficient. It can take me hours to go through a story submission and get everything properly coded.
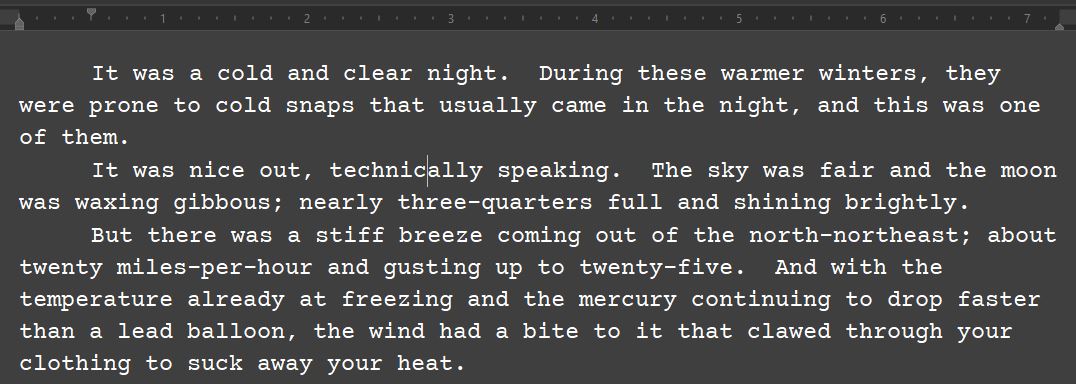
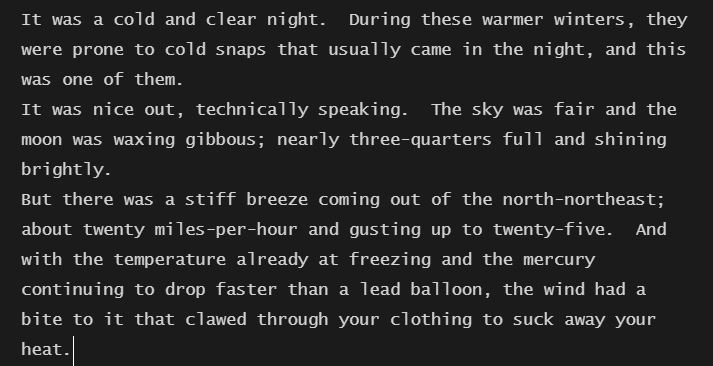
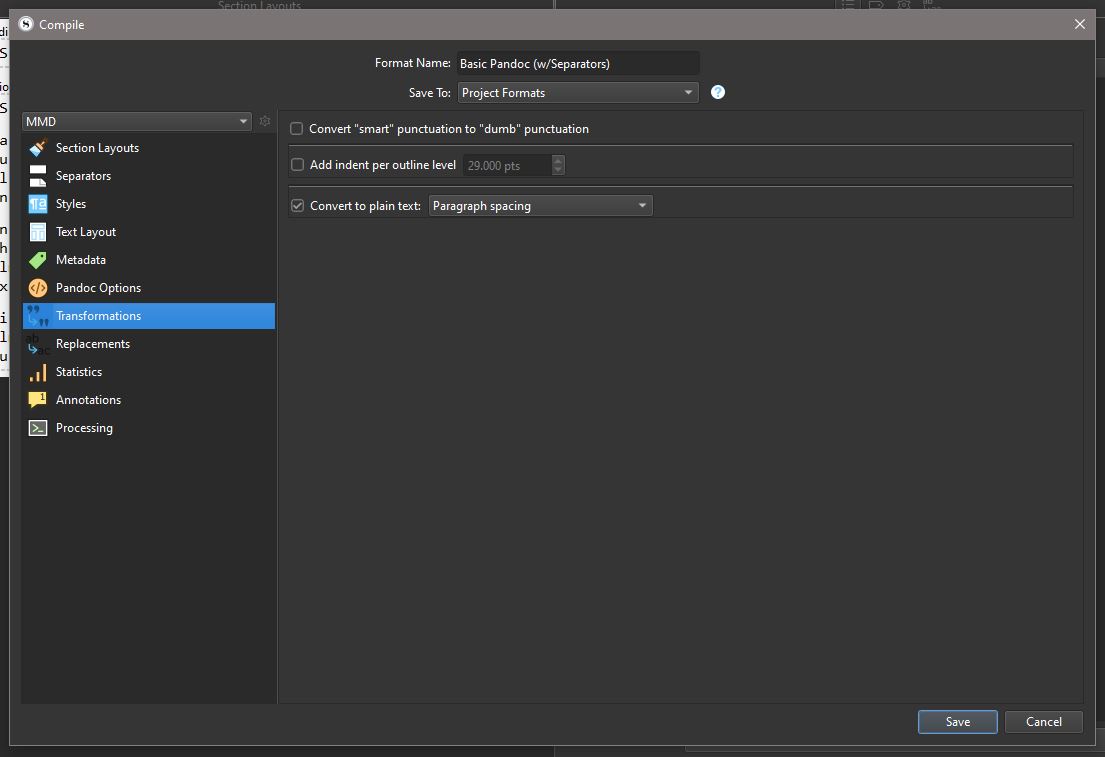
Unfortunately, Scrivener doesn’t have an output option for that, but it does have an output option for Basic Pandoc, and Pandoc can convert that into MediWiki Markup. Unfortunately, if you’re compiling something that does not have an empty line break between your paragraphs, Pandoc does not fix this, and you wind up with just a wall of text in MediaWiki. So instead, we have to do this on Scrivener’s side of the operation.
Basically, you want to use Scrivener’s “Styles” to make things happen here. What’s neat about Styles is that you can have a style render text in a specific format in the editor pane, but when your project is compiled, the settings you have in your compiler will render your text like that instead.
HOWEVER… When compiling into a format such as MultiMarkdown or Basic Pandoc, you can set specific markdown code to be used with a specific Style.
Nifty, eh? Let’s get started then.
First, we’re gonna want to create a new paragraph style. Simply format some text in the editor pane to however you prefer and make sure your caret stays on that field of text. Next, go into the following menus: “Format” → “Style” and then select “New Style From Selection” (should be at the top of that sub-menu).
You’ll have to name this style. I simply named mine “Body” as it is what I’ll be using for my main bodies of text.
You may also wish to assign it a hot-key, as there seems to be no way to set a default “Style” (default formatting, yes, but not with a style). This can be done by bringing up the Style Panel (From the Menu, “Format” → “Style” and select “Styles Panel” or use the hot-key, Win+Alt+S)
From the Styles Panel, you’ll want to Right-Click on the Style you made just a moment ago, popping up a context menu. Go down to “Change Keyboard Shortcut” and a submenu will pop up, displaying a series of preset shortcuts. Unfortunately, you can’t change these, but you can reassign them as you wish. Don’t worry if it says that a preset is already assigned to something else. It’s just letting you know it’s in use, and selecting that preset hotkey will remove it from whatever Style it was assigned to, and reassign it to your new Style.
Next, fire up the Compiler.
Now, if you’re currently using one of Scrivener’s default formats for compiling, you’re gonna need to change it up. But Scrivener won’t let you change any of the defaults here. No worries, though. If you double-click the current format setting you wish to use, a dialogue box will pop up, saying pretty much what I just said above, but it then gives you the option to make a copy of the default format settings, and then edit them.
Choose that option.
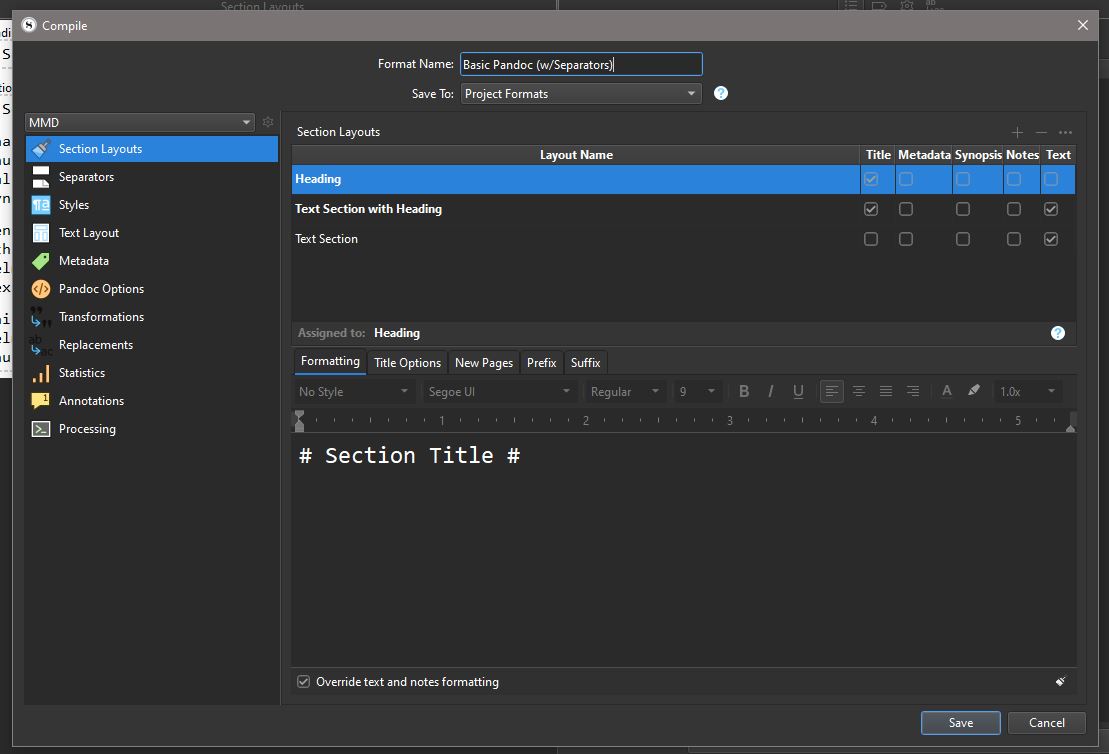
A new window will pop up showing the various options. Folks who’ve used Scrivener 1 in the past should find this familiar, as this is pretty much the original compiler settings window, only now with a few more tweaks.
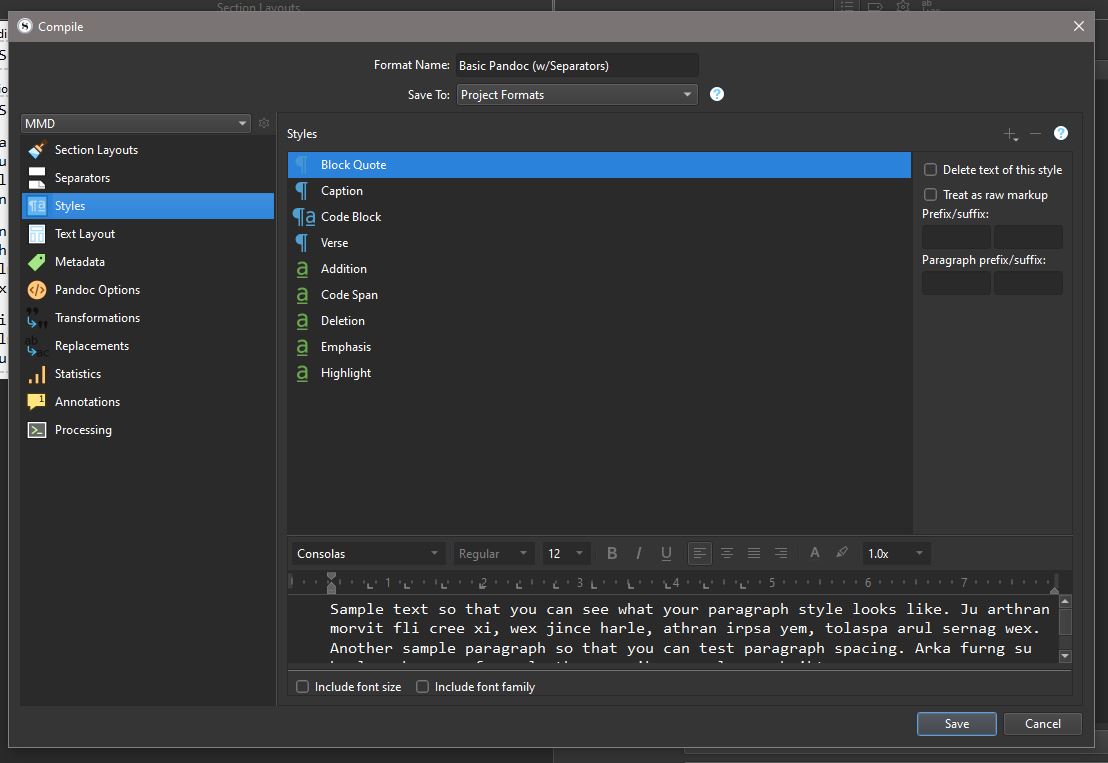
You’ll want to go to “Styles” in the left-side pane and then look for the Style you made earlier. If it’s not listed, no worries. You just have to add it in here. To the far right side of the window, there should be a plus sign, minus sign, and a help button. Click the plus sign to add a Style. It will drop down a familiar looking menu that has all the styles, including the one you made.
Select that Style, and it will now be available to use for compiling.
Now, here’s the tricky part. You need a carriage return. You can get one simply by opening Notepad, and then hitting the Enter/Return key once.
To misquote Sean Connery as Captain Marco Ramius, “Get me a return, Vasily. One return only, please.”
Next, you’re going to highlight that single carriage return. This can be easily done by just using the hotkey, Ctrl-A. Then Copy that, go back to Scrivener, and then select the style you made earlier.
To the right of the pane that has those styles listed are several fields. You’ll want the first field under “Paragraph Prefix/Suffix”. And now, paste that carriage return you copied from Notepad into that first field.
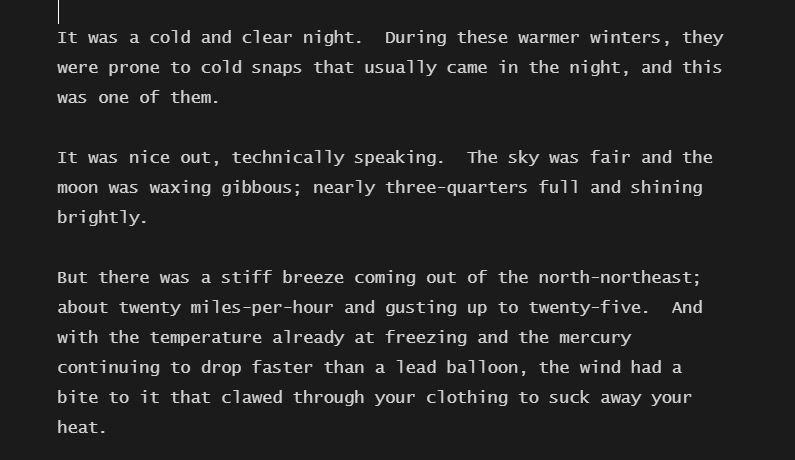
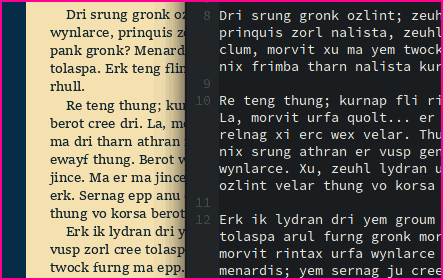
What this does is that when Scrivener compiles your project, it will insert that carriage return at the start of each paragraph you have formatted with the Style you made. And thus, your paragraphs without an empty line break between them will now have one after being compiled, rendering your text in a format that can be properly used in settings where an empty line break is required between paragraphs, such as MediaWiki.
I hope that someone out there finds this useful.