Each chapter connects to the next with a gap in between and around each chapter is a cluster of ideas, scenes and characters. There are 10 chapters so far. The gap between chapters is now too small. Is there an easy way to spread this ‘mind map’ out to create extra space between each chapter?
Yes, there is a way of doing this. The trick is to, even if only temporarily, group each of the clusters of notes into a magnetic background shape, and then select only the shapes themselves, and distribute them. With this combination of features, we spread the Shapes apart, and since they are set to magnetic, they carry the notes along with them, thus spreading apart clusters without moving them relative to each other within the cluster. If we try to use the distribution command on a large selection of notes, it will move all of them around globally and make a huge mess.
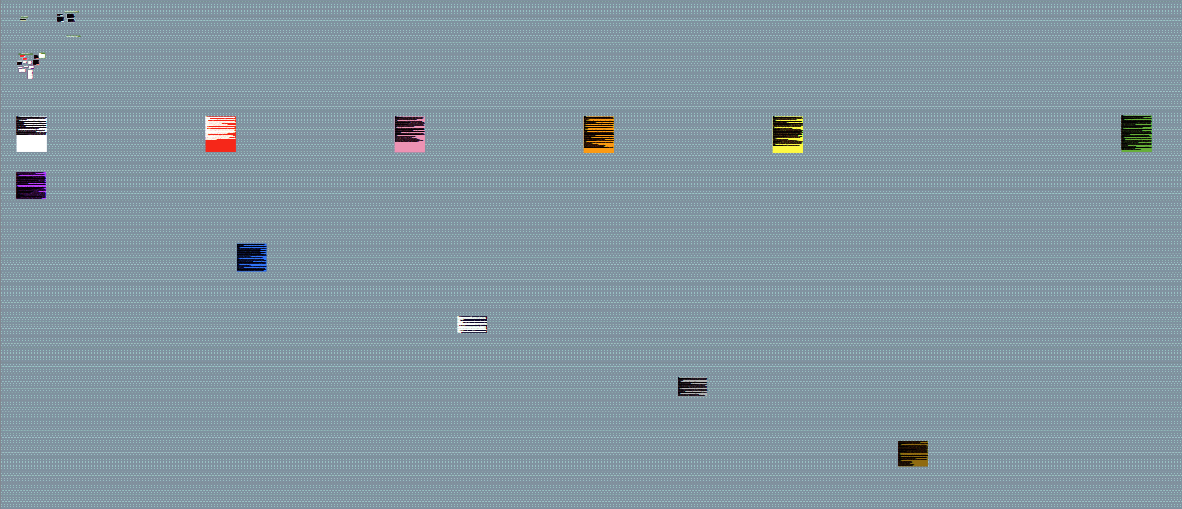
So here is what such a setup could look like, after dragging one of the groups further away from the rest, to establish the new width of the overall map:
After selecting the four Shapes, the rectangles around each note cluster, and running the Notes ▸ Distribute ▸ Horizontally command, we get this:
If you aren’t already grouping your chapters into Shapes like this, it’s pretty easy to get to the necessary combination of ingredients:
Select the notes of one chapter. This might be made simple with the Edit ▸ Select ▸ Connected Clusters menu command, if they are all connected (and not cross-connected between chapters). Ultimately rectangle dragging on the background of the board is probably going to always be easy to do though.
Once they are selected, use the Notes ▸ New Background Shape Around Selection menu command, or keyboard shortcut.
Now, once you have all of the chapters grouped up:
At this point, you’ll want to drag one of the chapters further away, as I did in the above demo.
Select all of the Shapes on their own, without selecting any notes. An easy way to do that is to hold down the Shift key on Mac, or Ctrl key on Windows, and click on each box—typically in some corner away from any notes. If you accidentally select a note, you can toggle it out of the selection with the same modifier key.
With them all selected, use the Notes ▸ Magnetic menu toggle, if necessary.
Now use the aforementioned Notes ▸ Distribute ▸ Horizontally command. If you dragged the one cluster down as well as right, then you could follow that up with the “Vertically” command as well.
Optionally, if you don’t like the idea of using Shapes normally, hit the Del key at this point to remove them (as they will have remained selected after the above command). But in my opinion it’s very handy to have them around like this, as once you do, you can also just drag clusters around freely and easily by clicking anywhere into the rectangular area and drag and dropping.
I am perpetually impressed by the depth of answers that AmberV provides when she answers a question. She goes beyond a simple answer, and one gets the sense that she is really happy to do so. I do not want to sound utilitarian, but she is a fantastic asset to the Scrivener team.