I have the following:
and i’ve setup my project to be such:
Yet, when I compile, the first five charachters are not capitalizes on my PDF output. What am I doing wrong?
I have the following:
Yet, when I compile, the first five charachters are not capitalizes on my PDF output. What am I doing wrong?
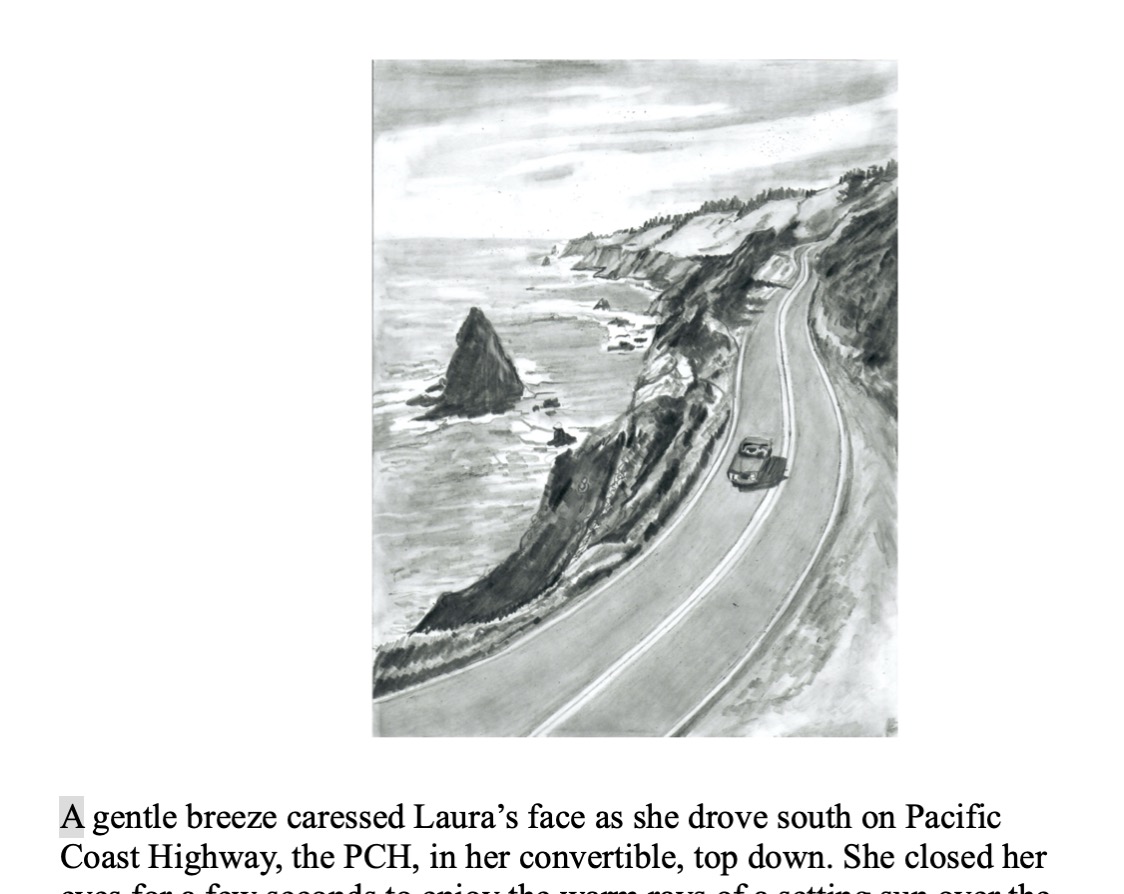
it only seems to capitalize if I remove the image.
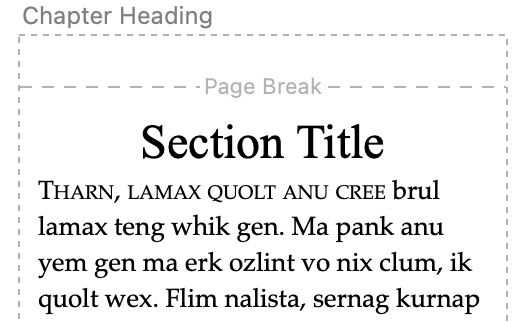
Yes, this setting only works on the first line of a section that calls for it, which you are using for an image. I would try something like this:

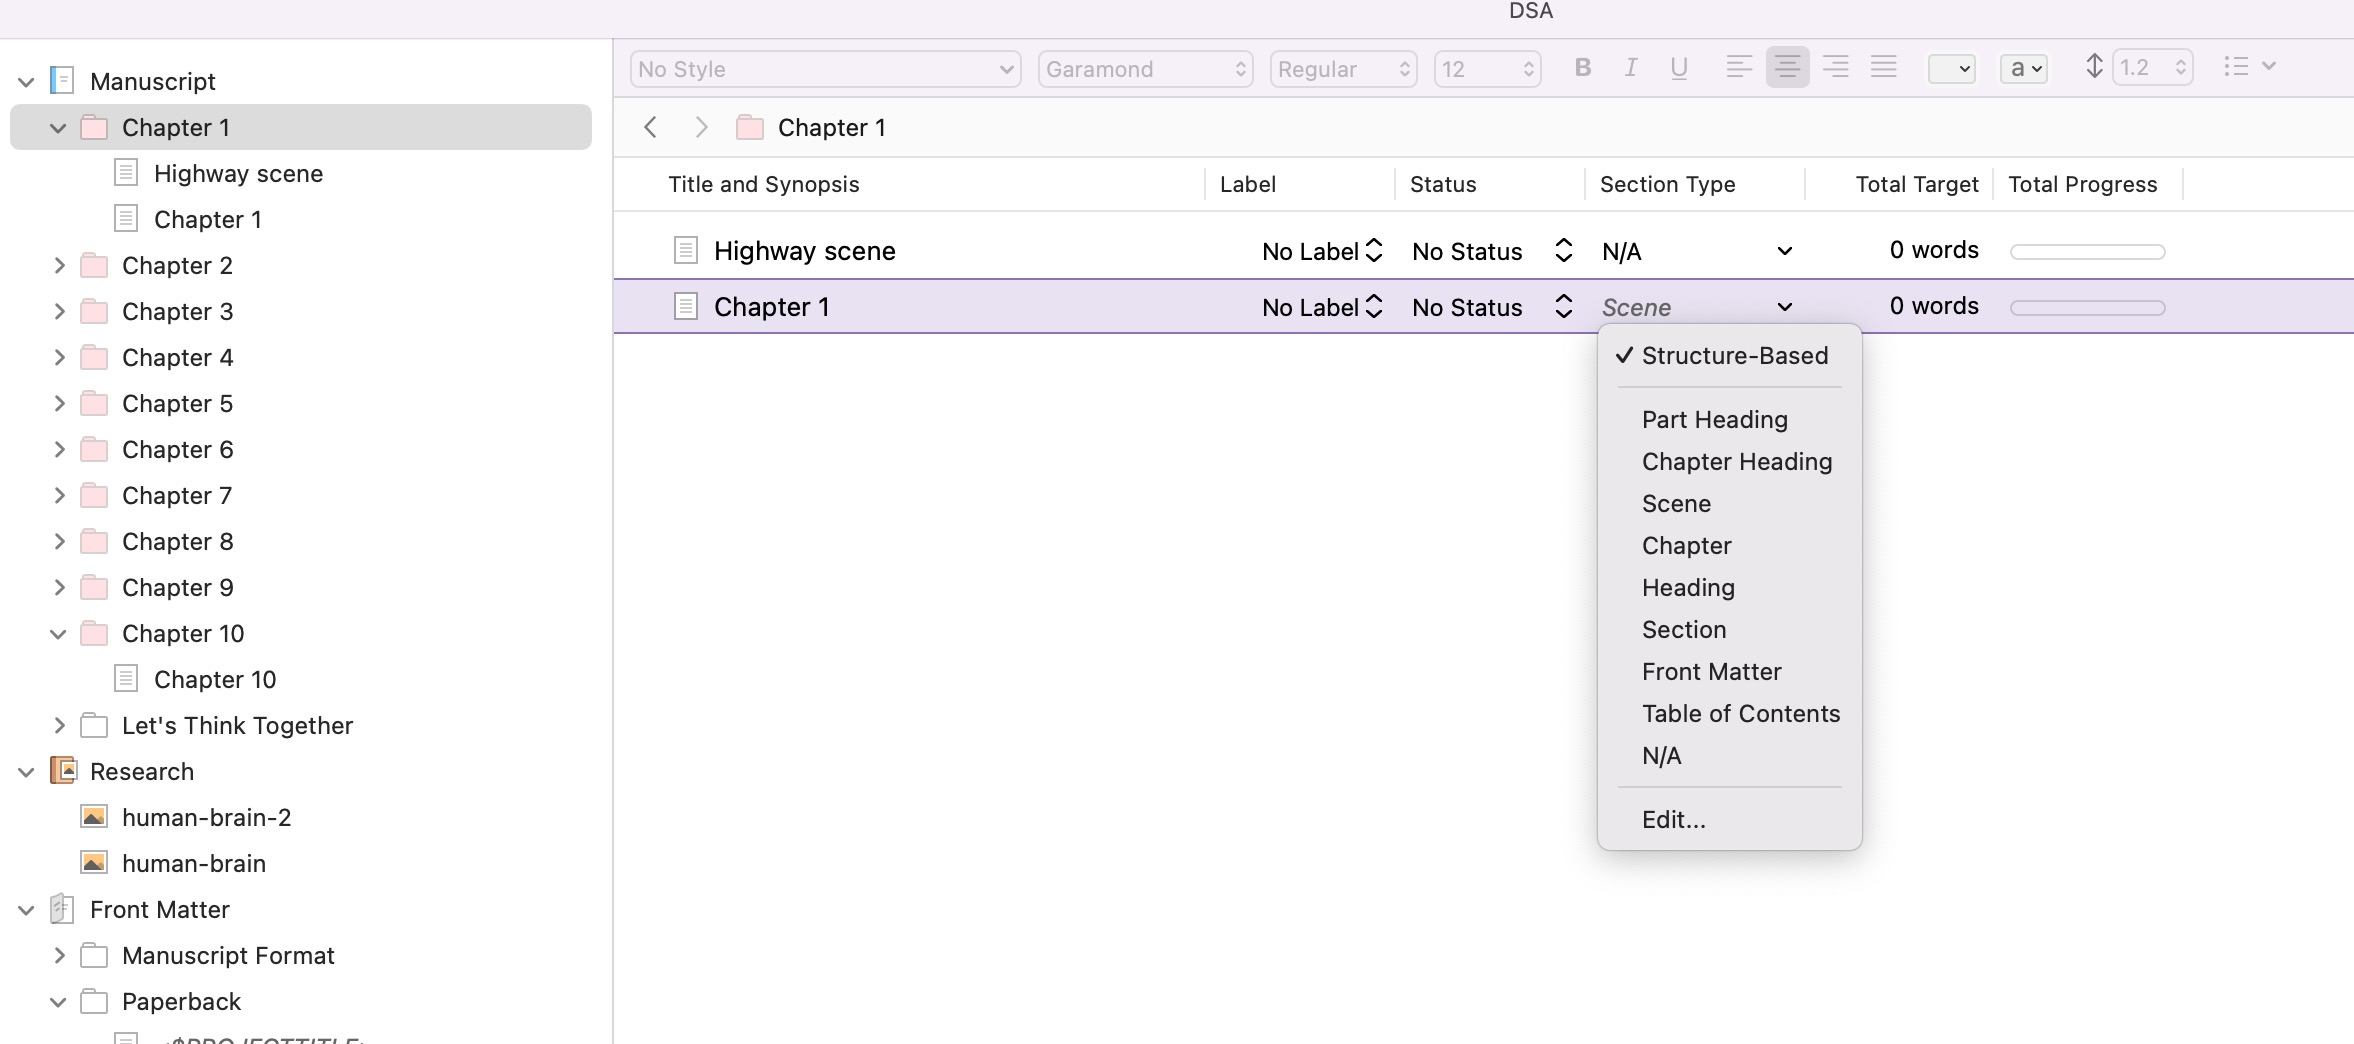
The first section uses a special Section Type, what I’ve called “Chapter Image” in this example. This can be very simply left alone in your compile settings, as by default new Types are printed “As-Is”, which is exactly what you want for something like this.
Now the first “Text” section’s first paragraph is the first, rather than other lines above it (images or whatever). This method thus also works for things such as epigraphs, chapter summaries or ToCs and so on.
Here is a sample project that has a very simple setup like the above:
chapter_preambles.zip (168.7 KB)
It will work even with the broken image link, but for best results you will want to insert your own test image into the sample “Highway scene” item. I did not include one to keep the download small.
A side effect of this is increased mobility. If you write a new opening scene you don’t have to remember to go inside the old “first scene” and cut the image out.
I’m not sure what you are intending to do with a text group, for the purposes of this, but they aren’t something you make directly, rather how we would describe what a text item becomes when you nest another item beneath it. For example, with “Chapter 1” text item selected in the outliner here, use the shortcut for Edit ▸ Move ▸ Move Right to indent it beneath the “Highway scene” section. Now “Highway scene” is a text group, and its icon changes. Use Move Left to outdent it once you are done experimenting.
As to the second question, the sample project I provided has a “Chapter Image” section type created in it, that I made myself. You will need to add one in your project, too. The “Edit…” entry in this menu on your screenshot is how you would get to that panel directly, but it’s also good to know these settings are loaded with the Project ▸ Project Settings... menu command. It is how you would change label colours, add auto-complete phrases, and a number of other things. It’s a very useful window to know about.
Just add “Chapter Image” to the Section Types list, in the first tab. Save the settings, and then change it in the dropdown for “Highway scene”, where it is currently set to “N/A”.